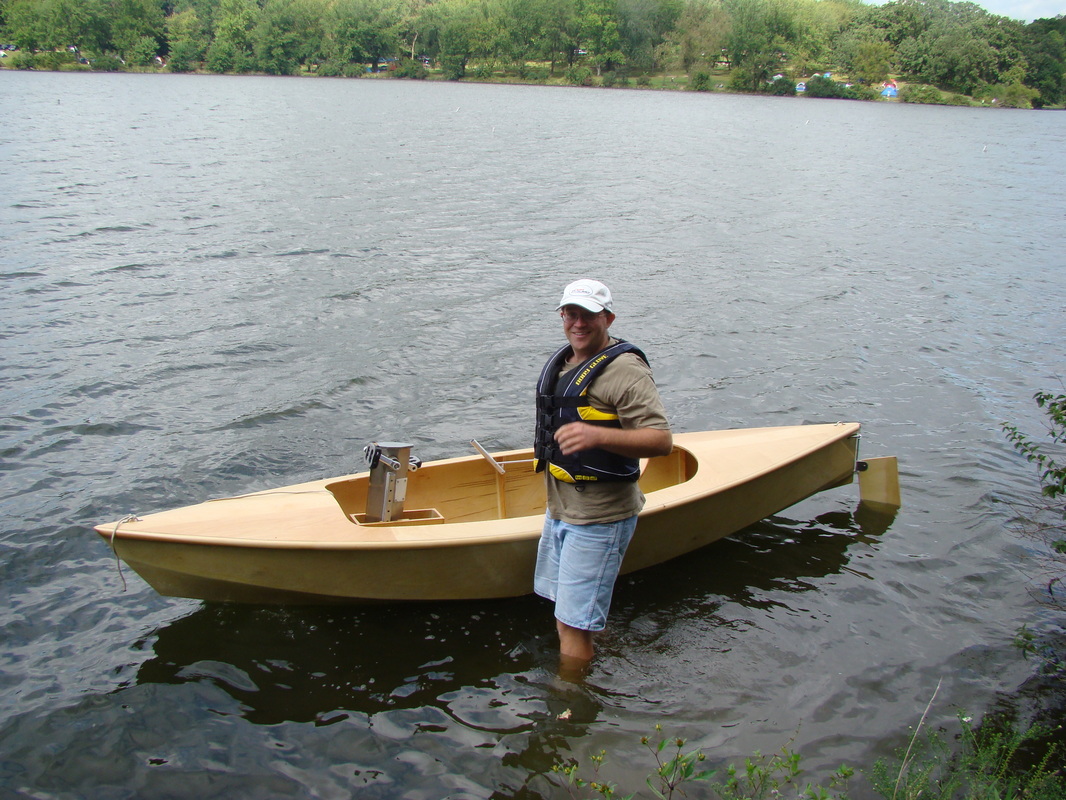
Pedal powered kayak.com
Home
About
Contact
Boats
HPB links
Join The Conversation
FOR SALE
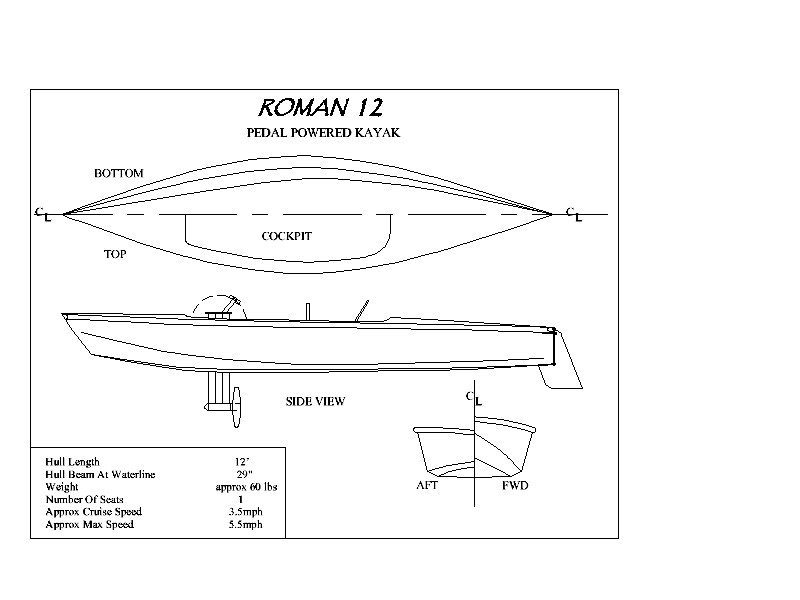
3 View
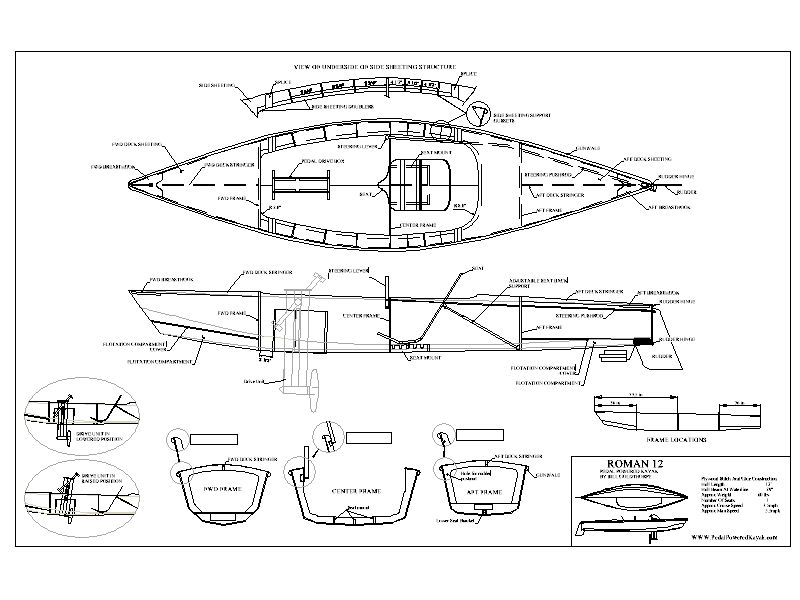
Plans Sheet
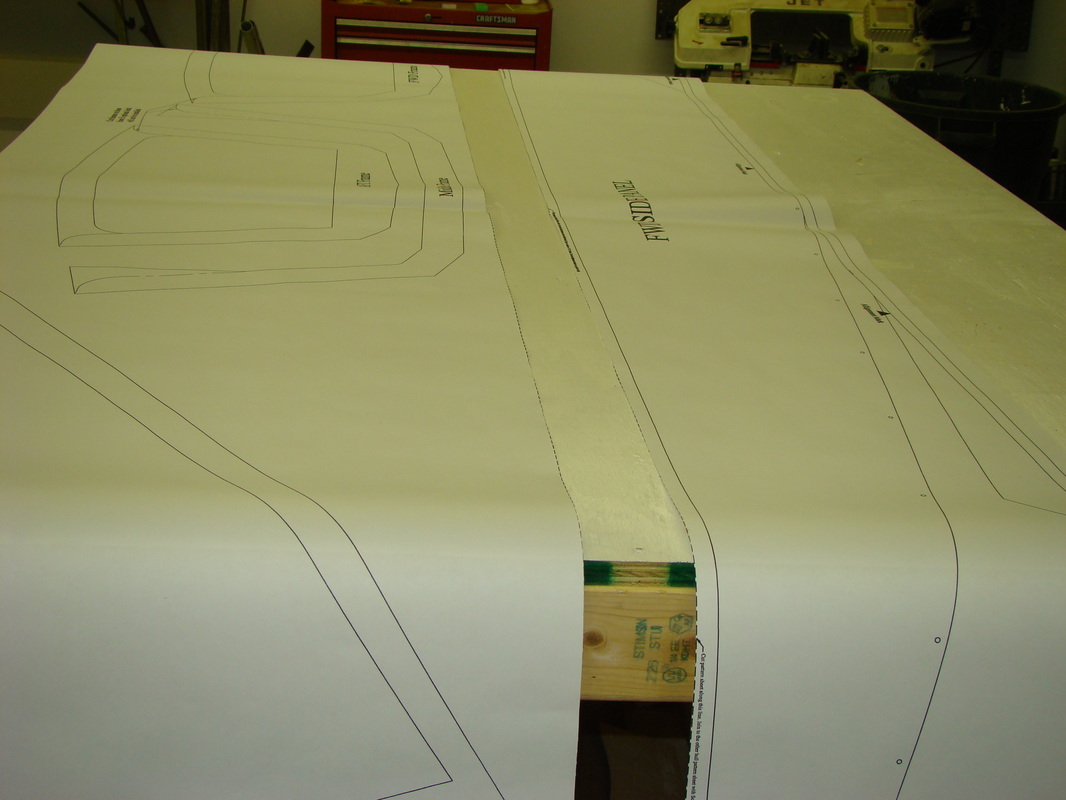
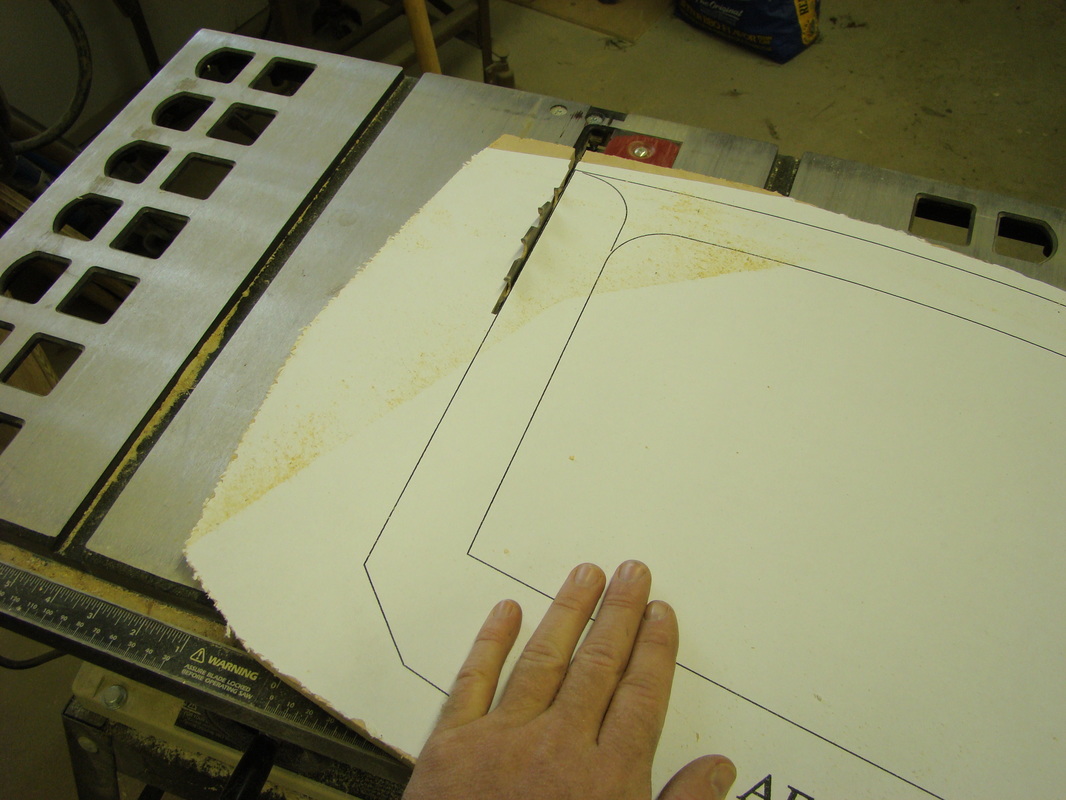
Full Size Patterns
Tack glue the patterns to 4 X 8 sheets of Ply
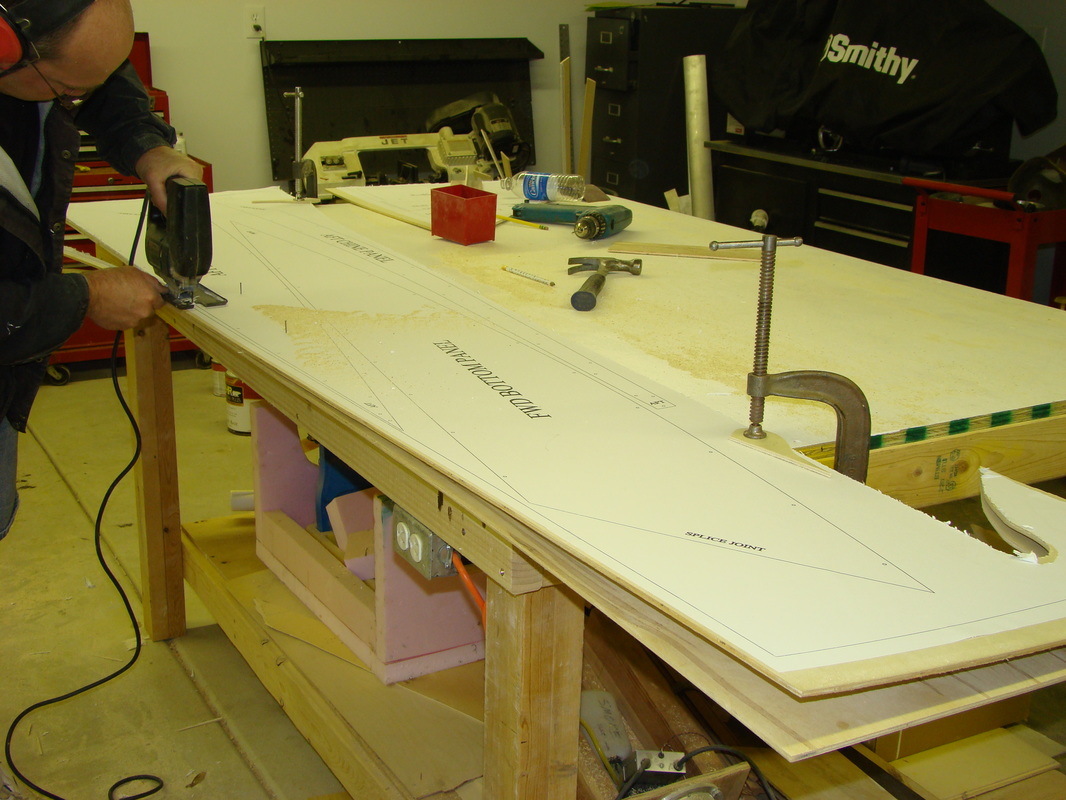
Cutting out hull planks
Hull planks
Cutting out frames
Frames and Breasthooks
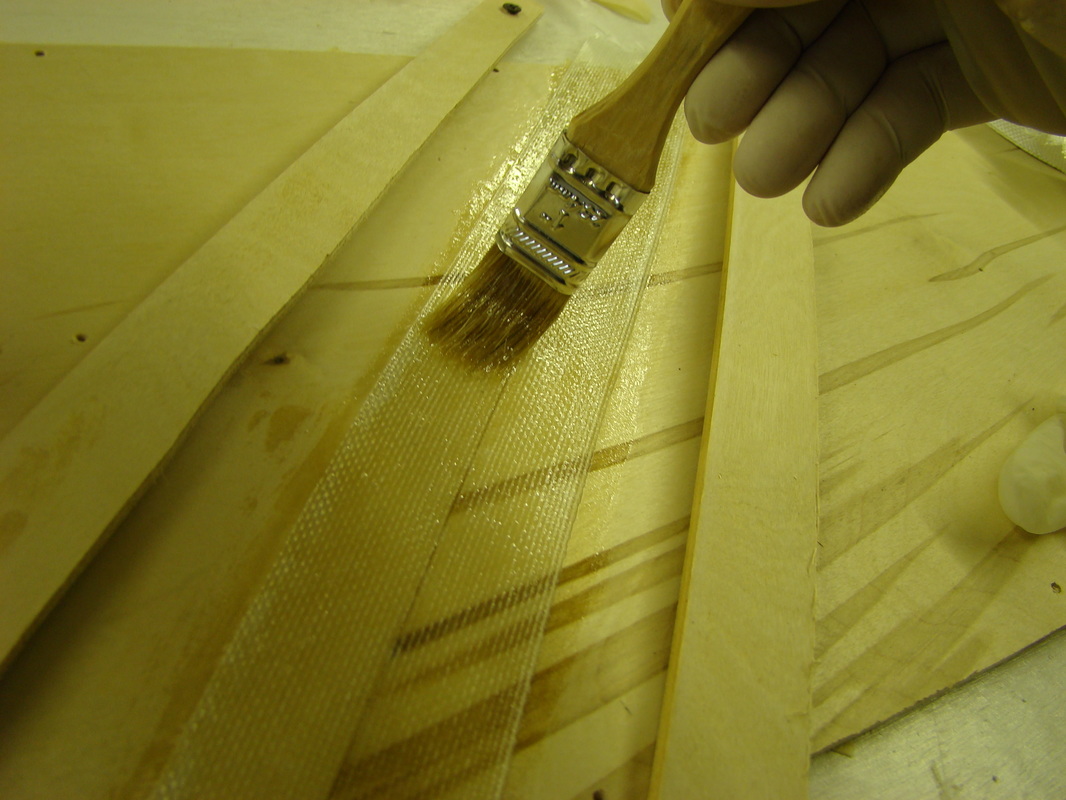
Splicing the hull planks
Splicing the hull planks
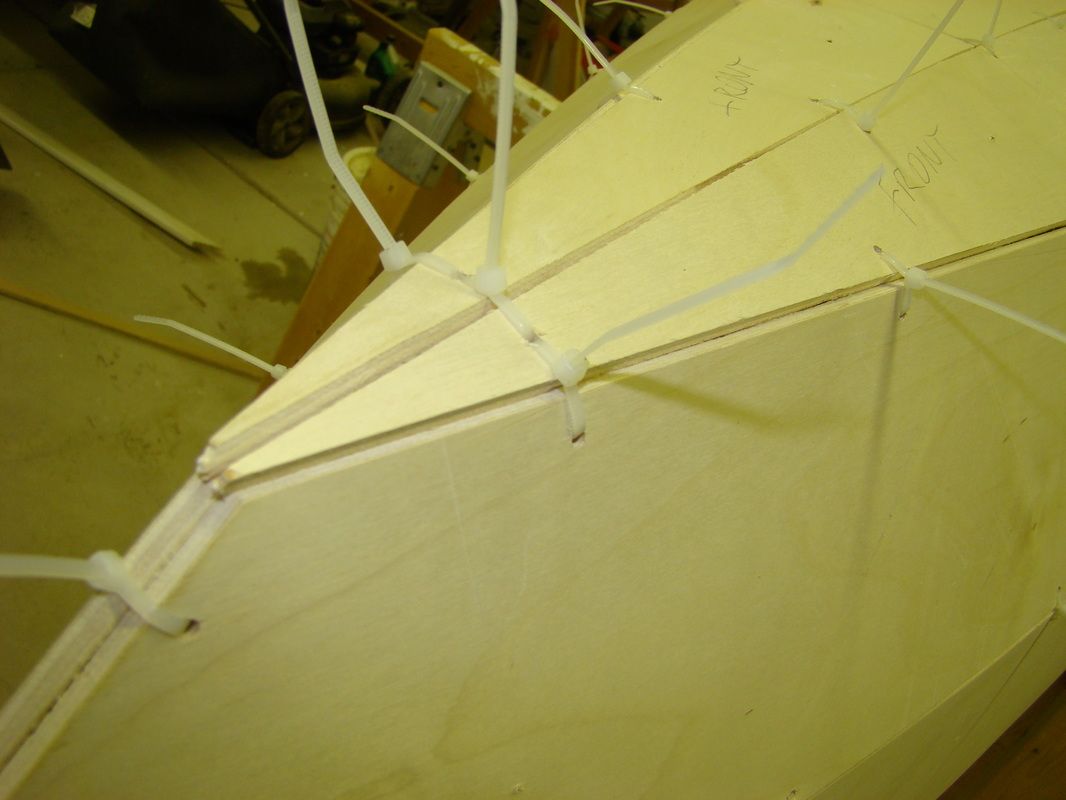
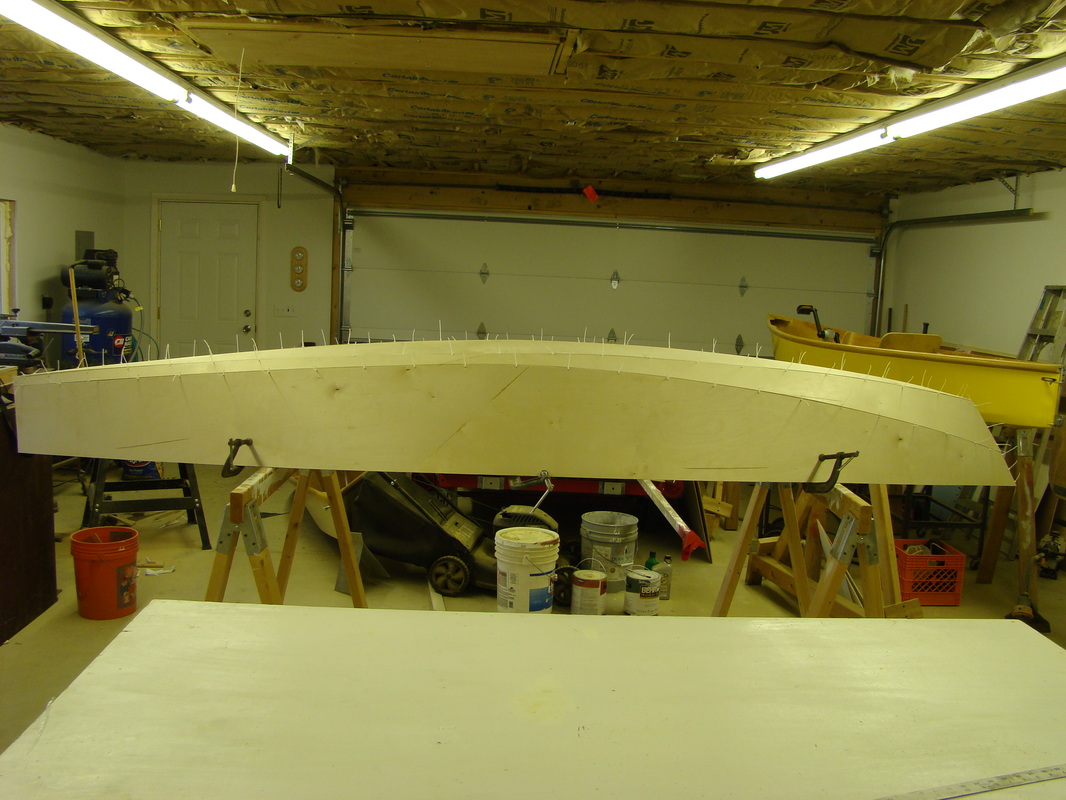
Hull planks "stitched" with cable ties before gluing
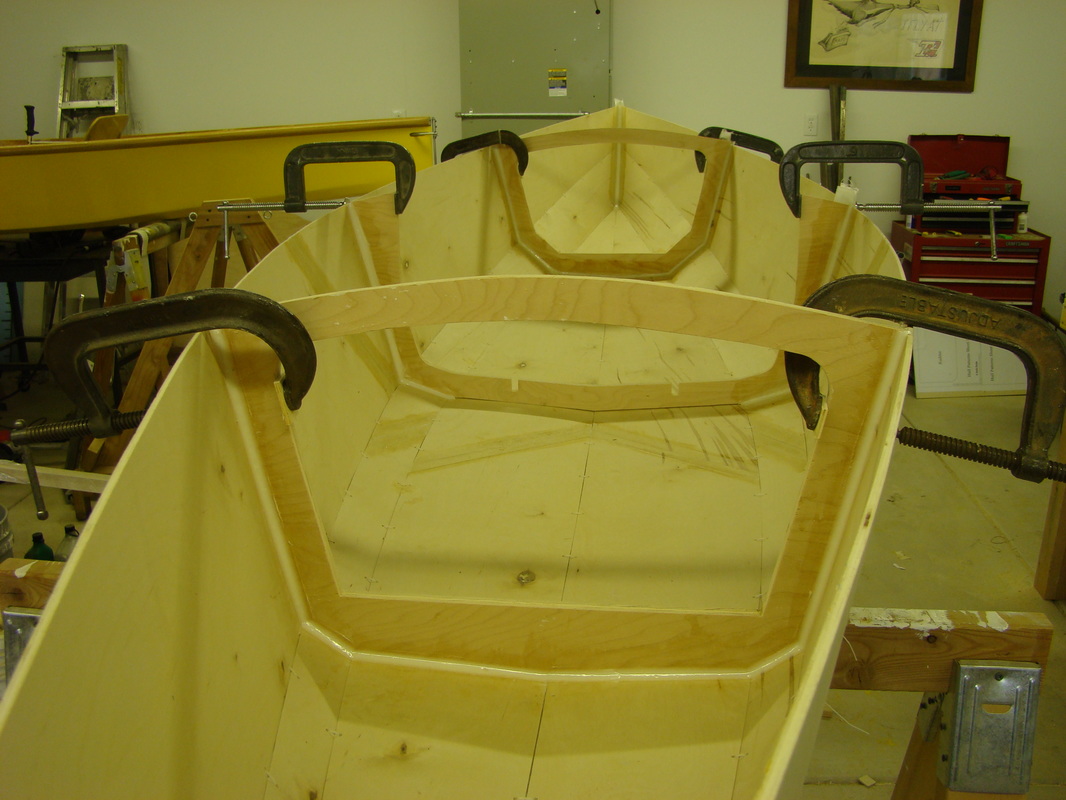
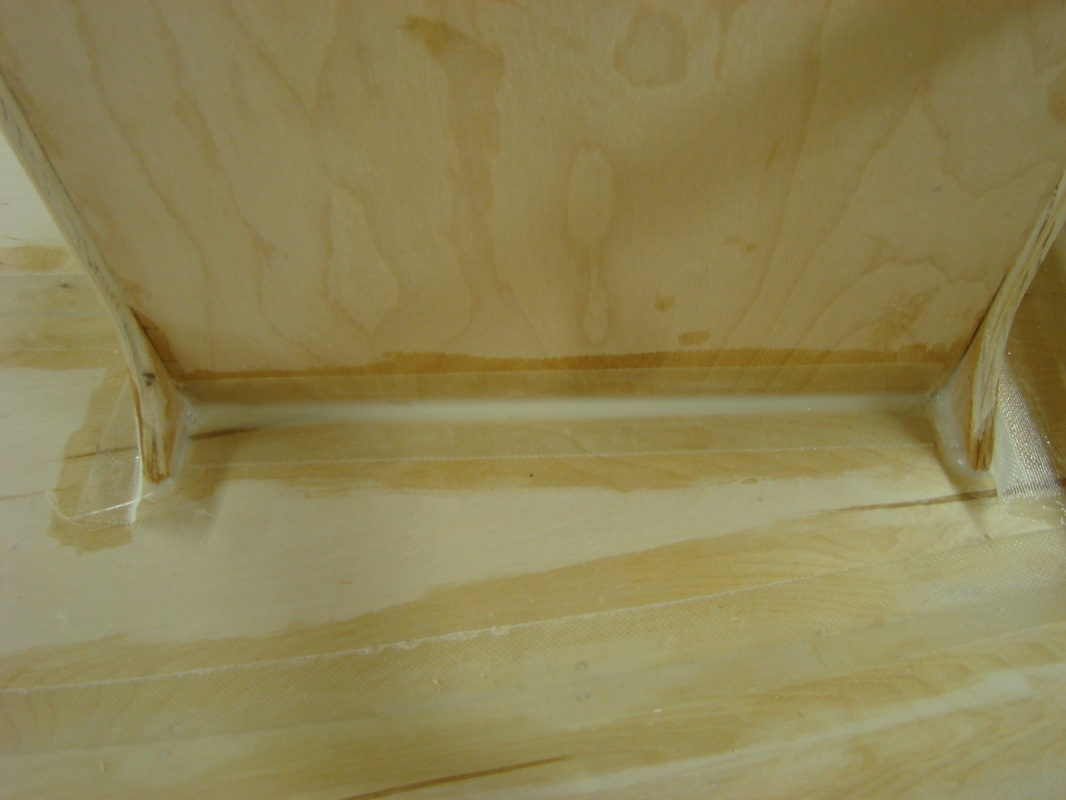
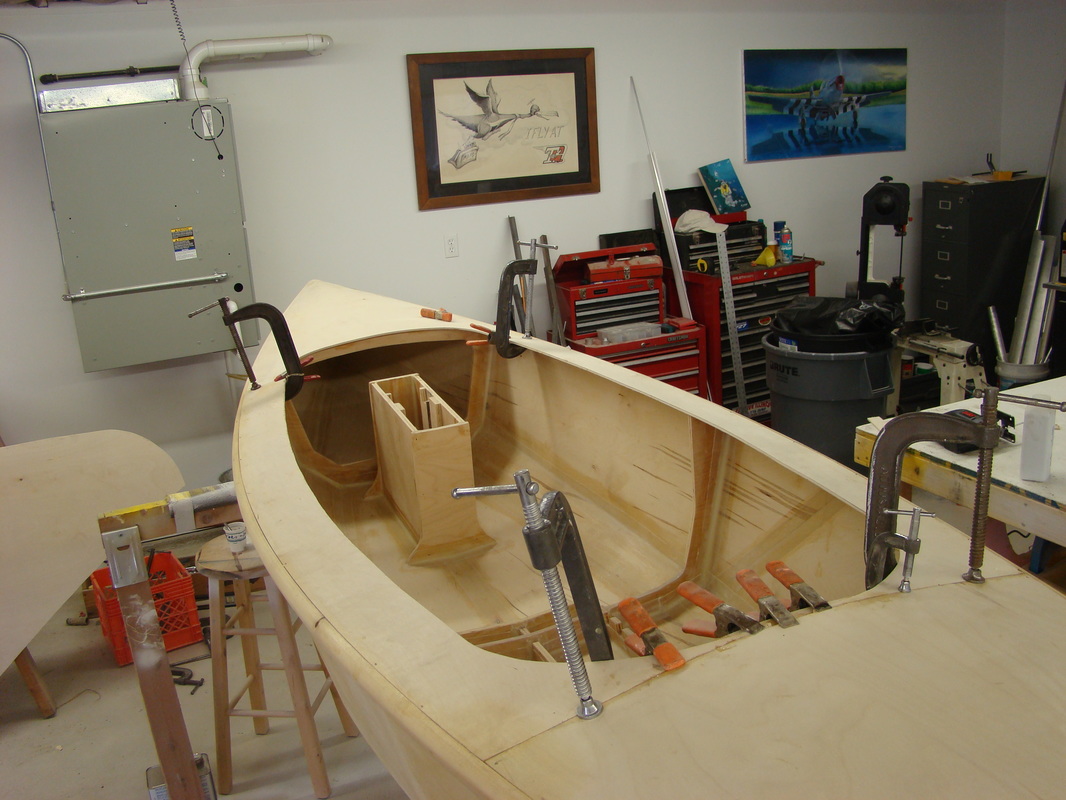
Frames clamped in position
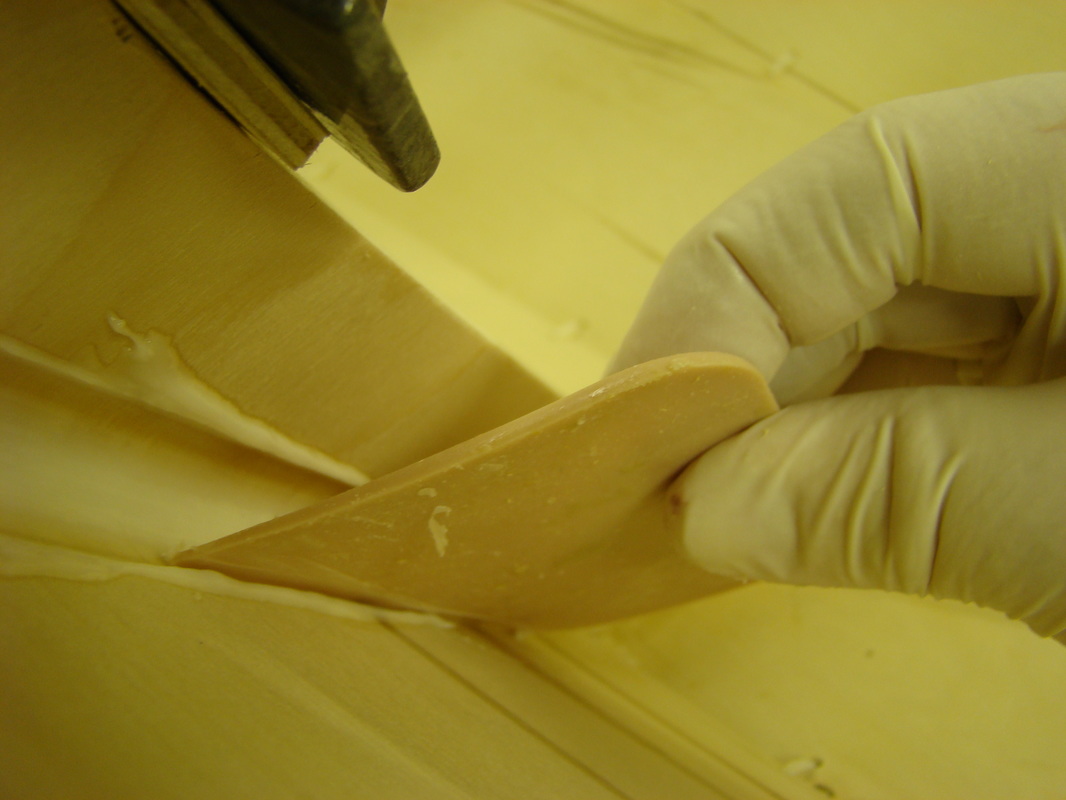
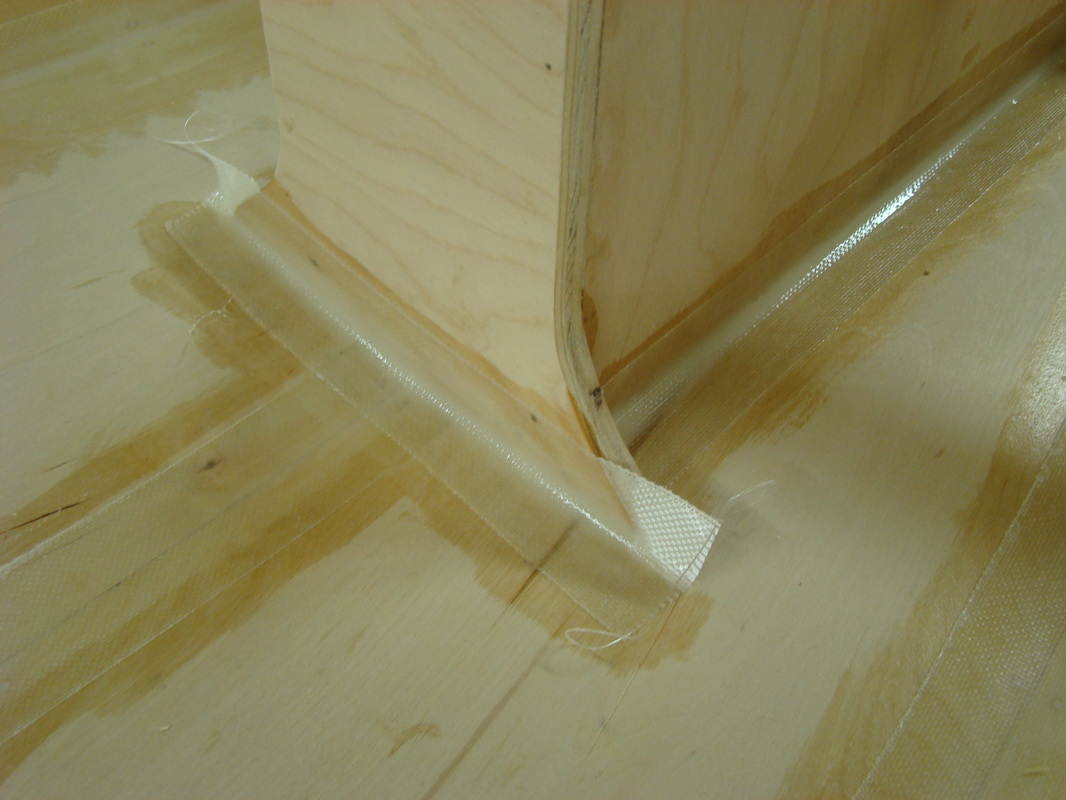
Thickened epoxy fillet
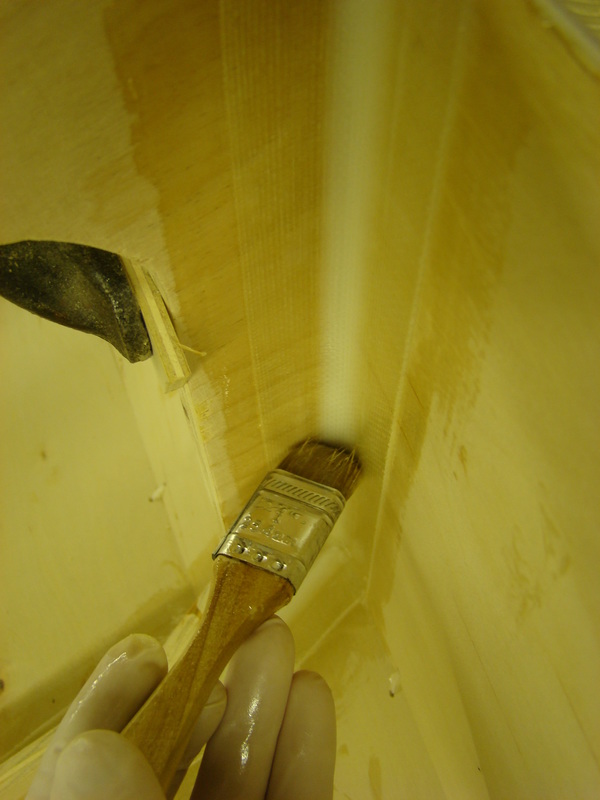
Fiberglass tape completes frame joints
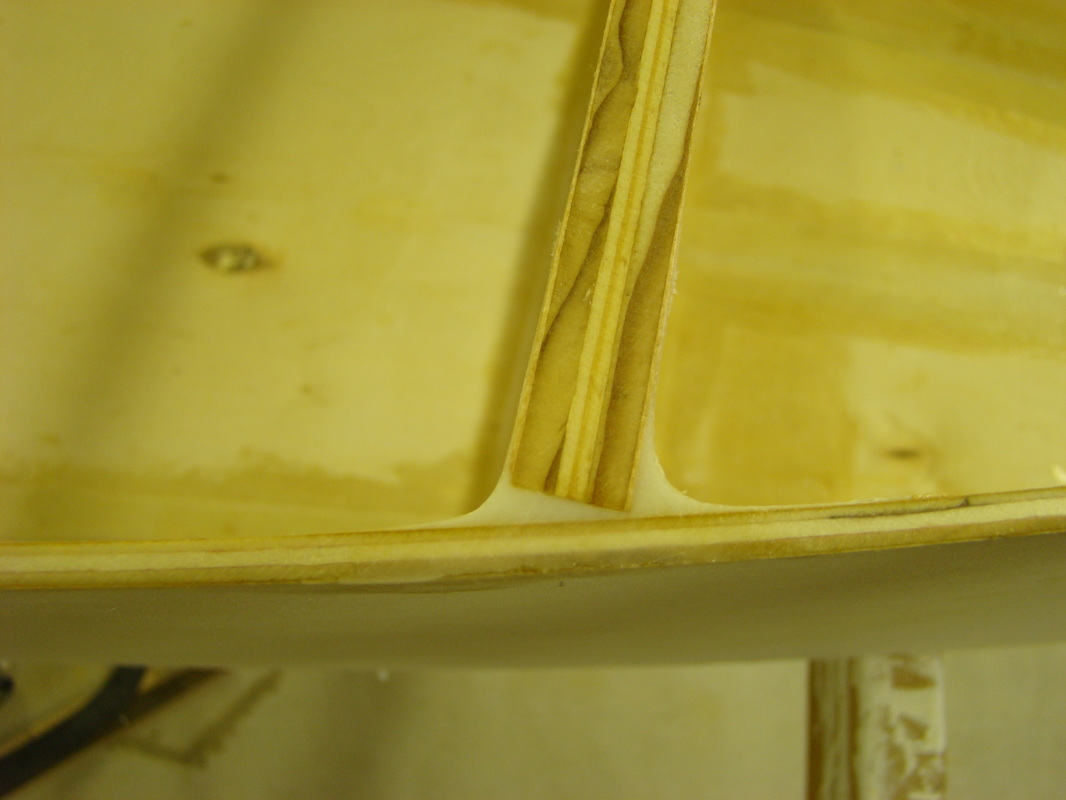
Frame joint
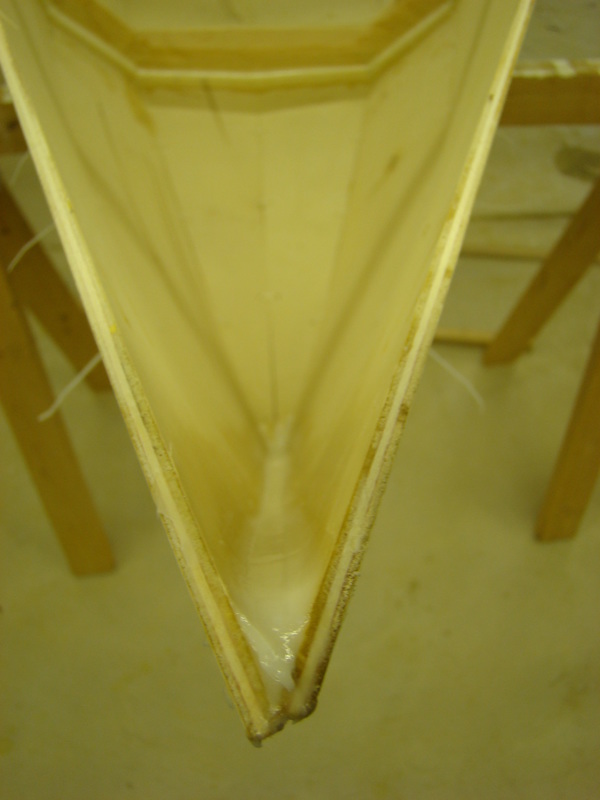
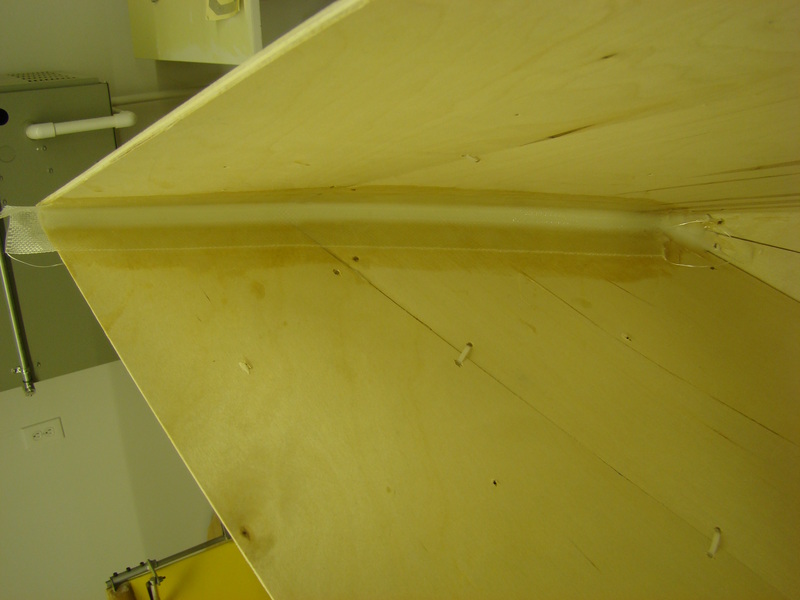
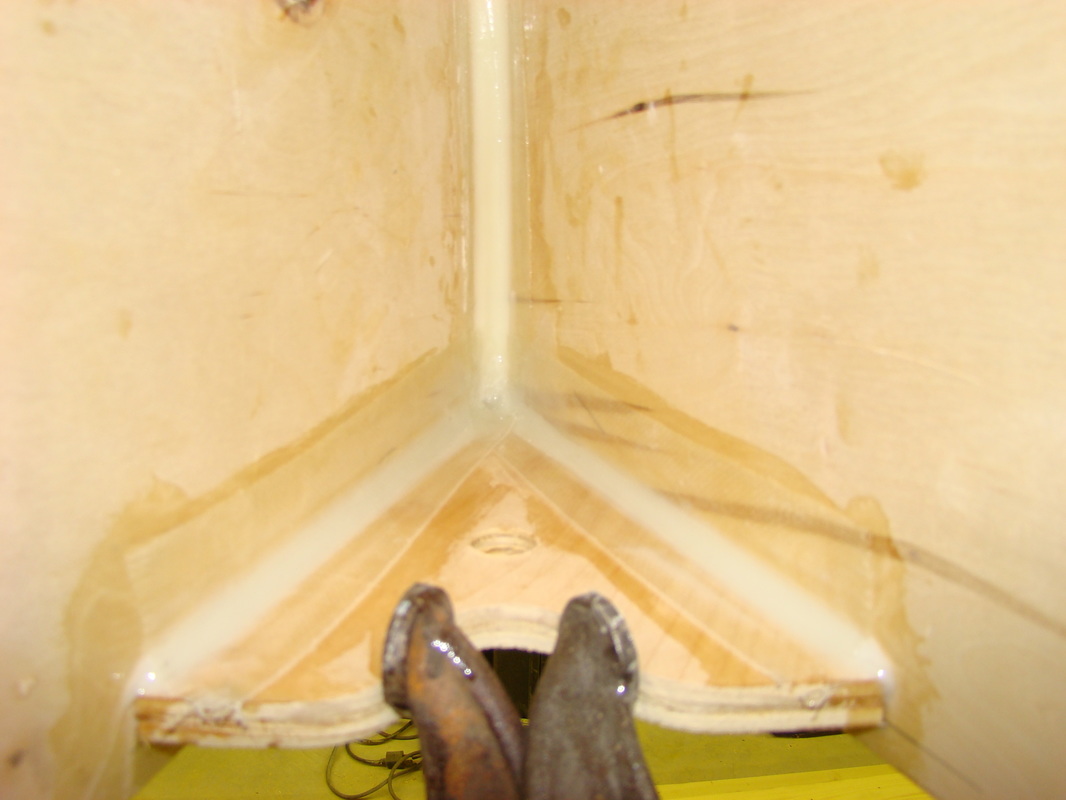
Thickened epoxy fillet at bow
Fiberglass tape completes joints at bow and stern
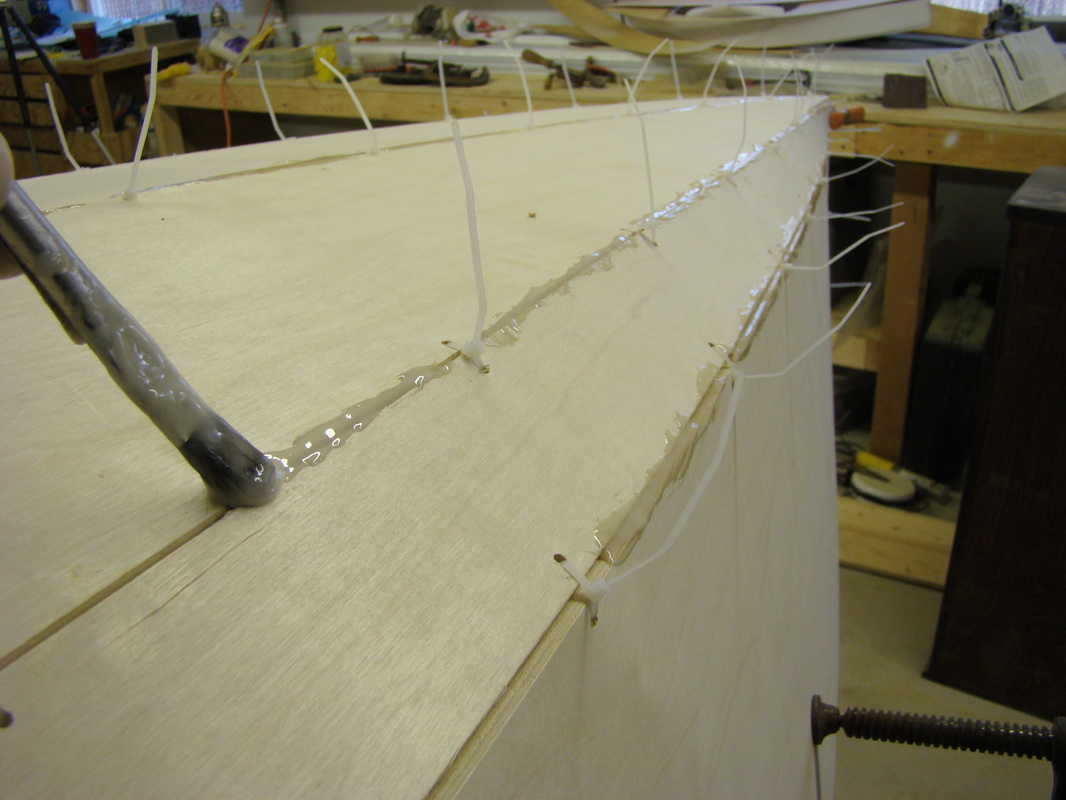
Glue plank seams with thickened epoxy
Fiberglass tape on inside of hull seams
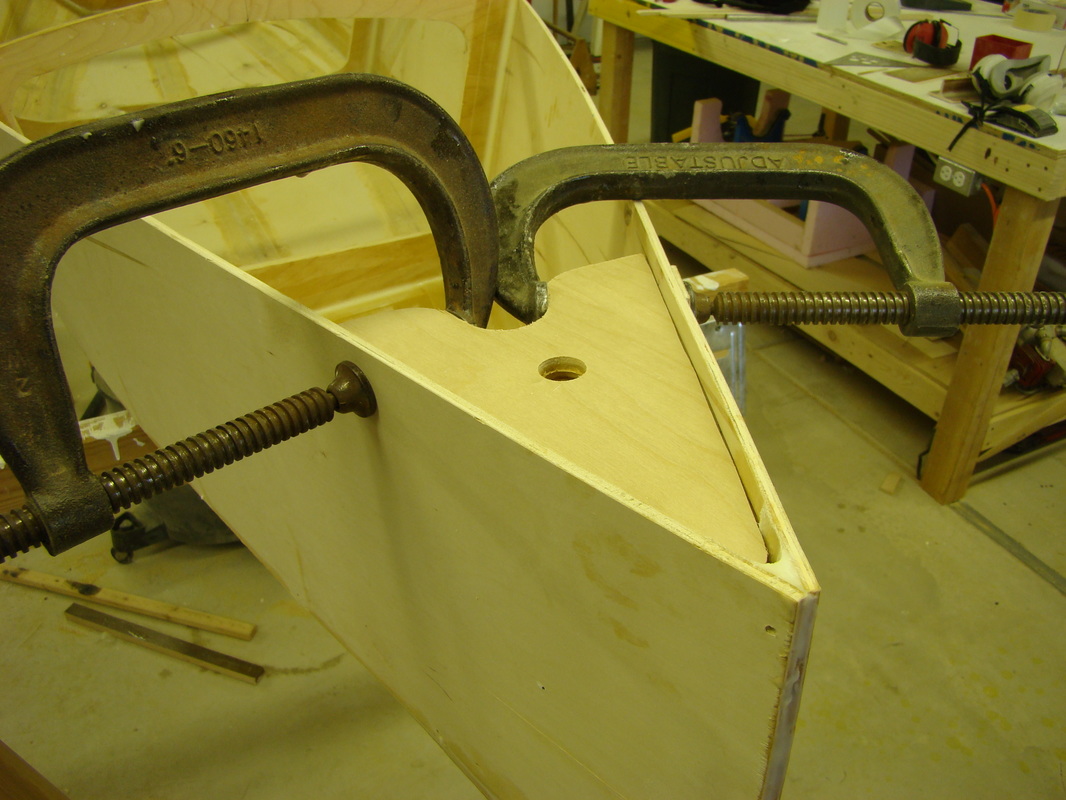
Breasthook clamped in position
Breasthook glued with a fillet of epoxy and fiberglass tape
Seat Mount
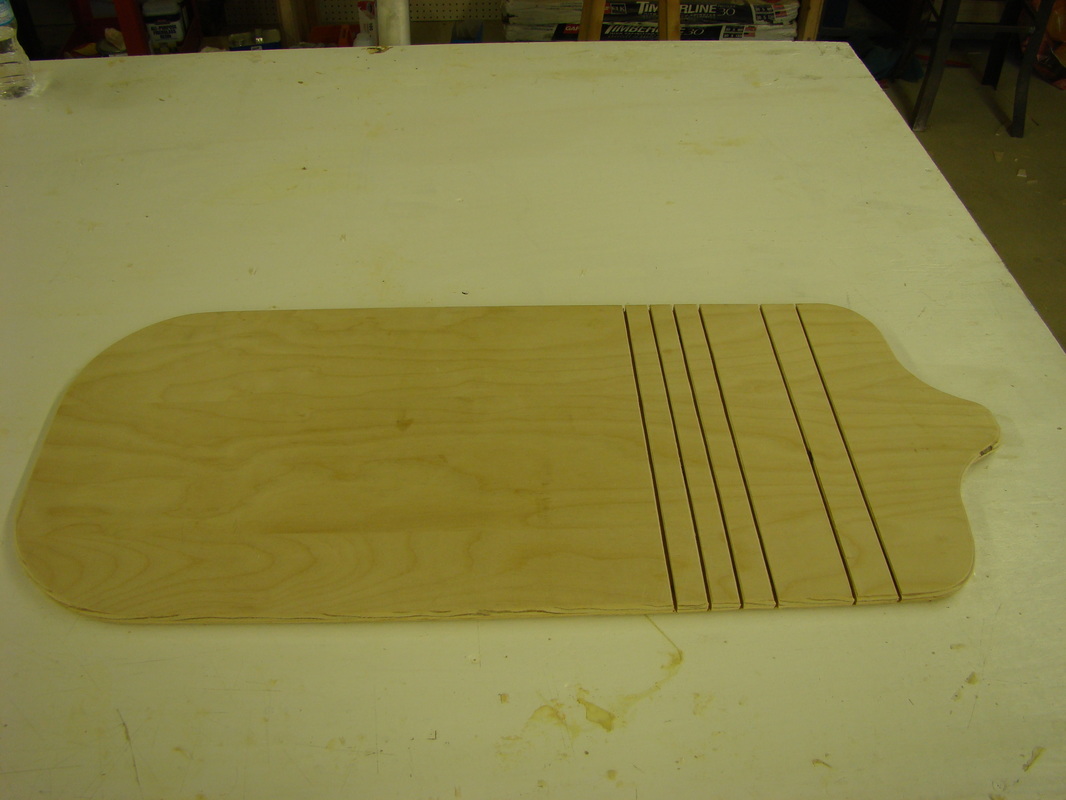
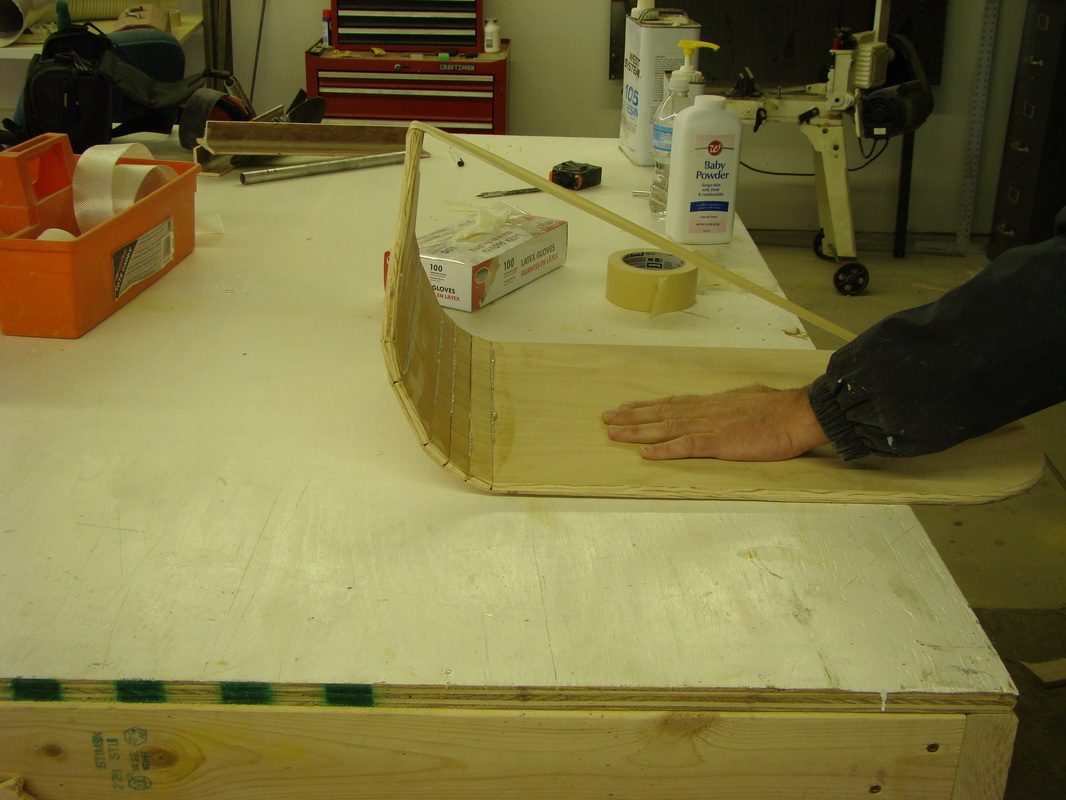
Seat with slots cut where it will bend to shape
Tape holds the shape until the epoxy cures
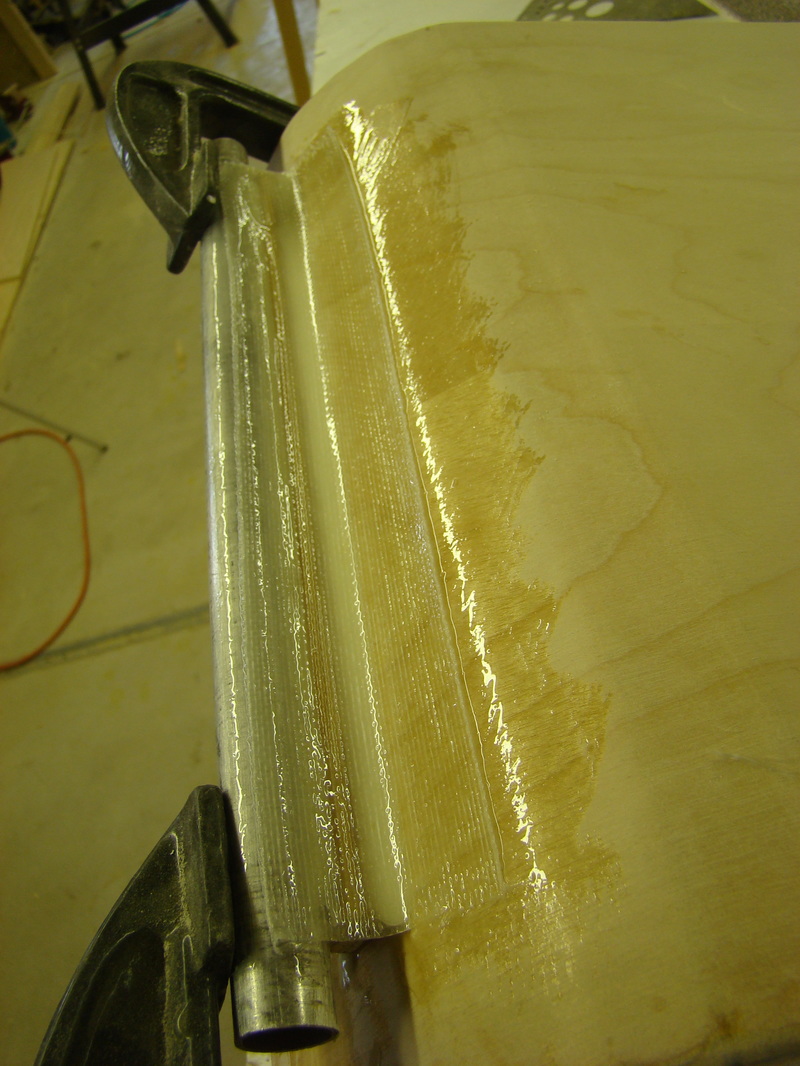
Several layers of fiberglass cloth and epoxy resin
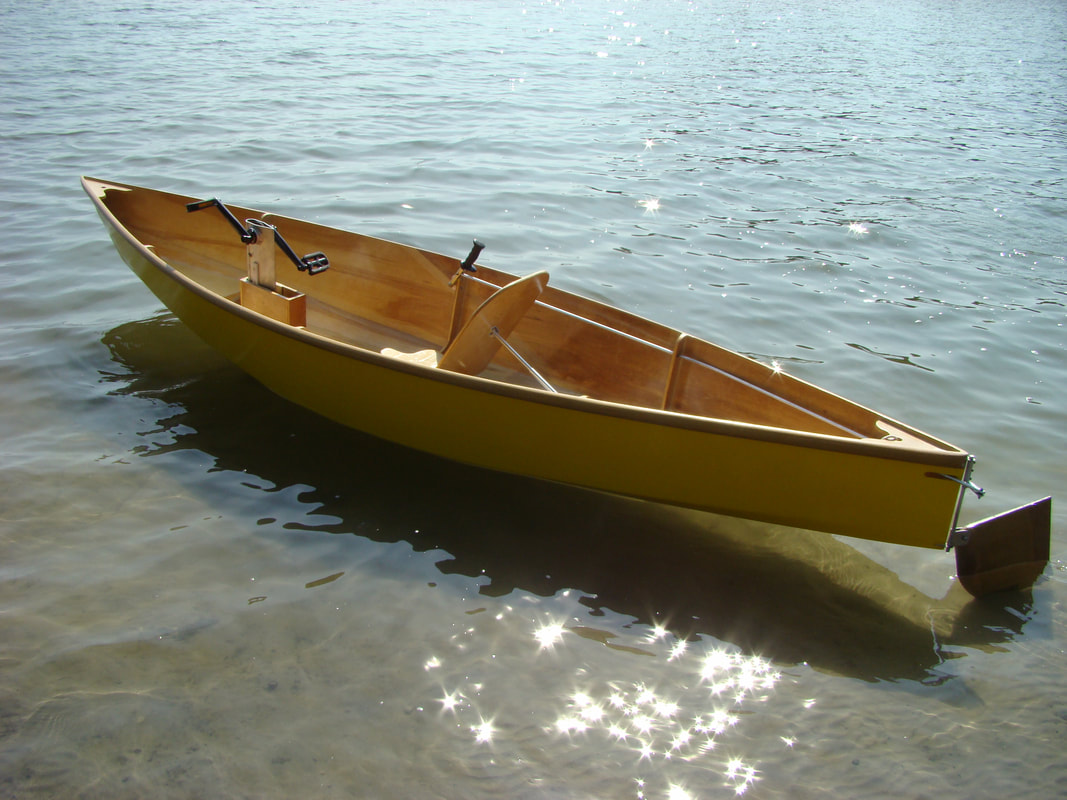
Seat tube
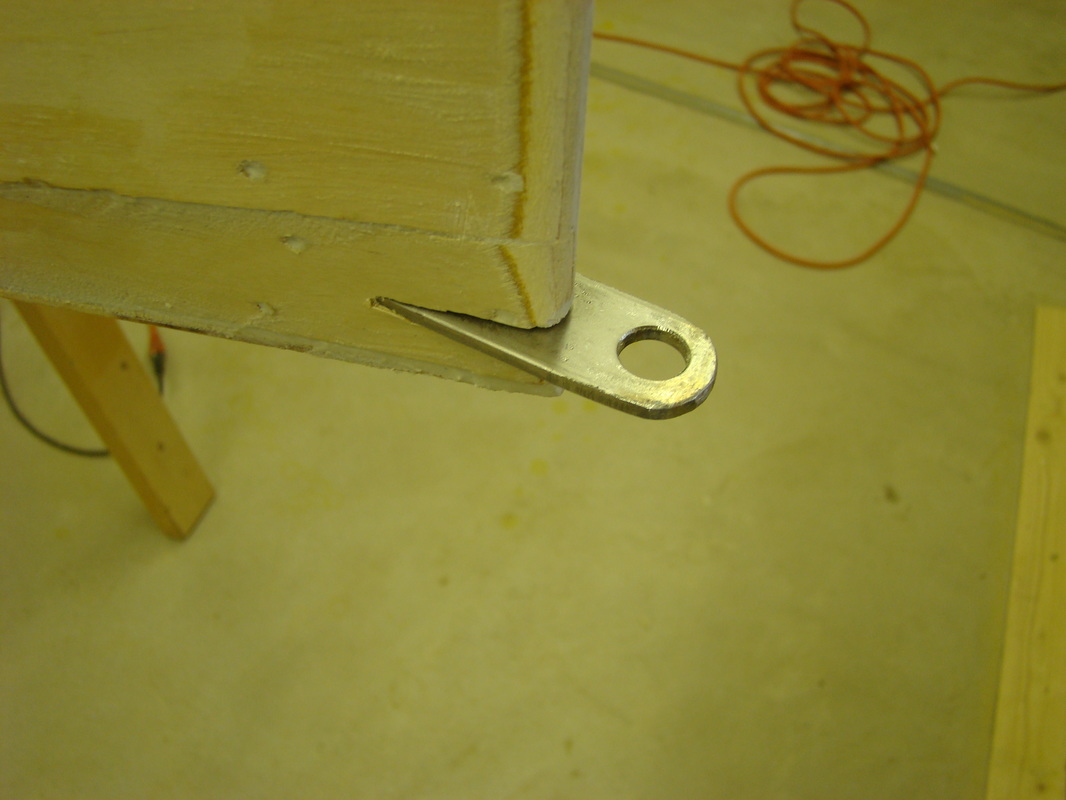
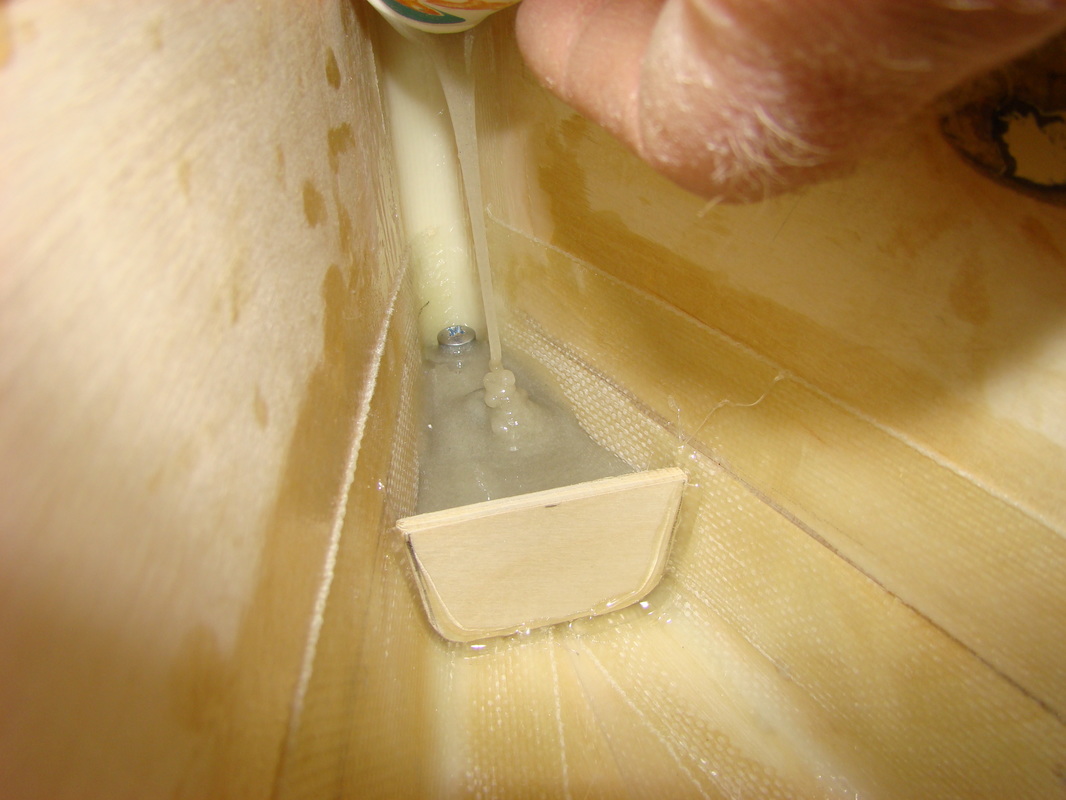
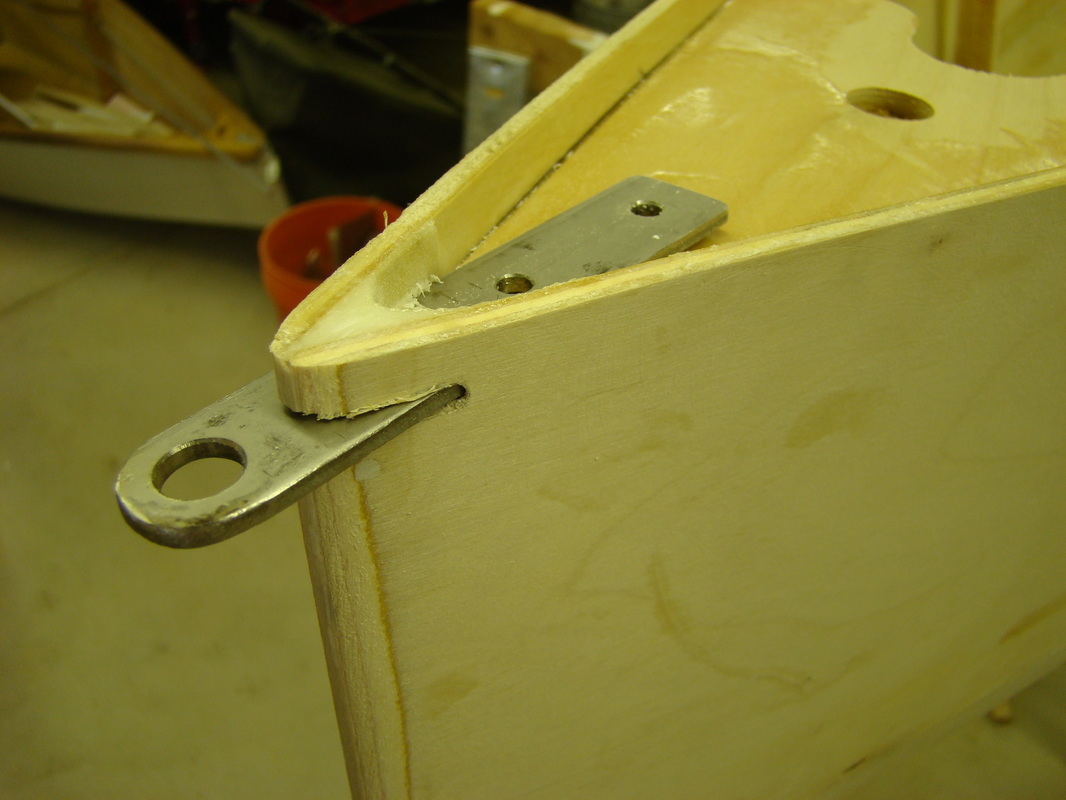
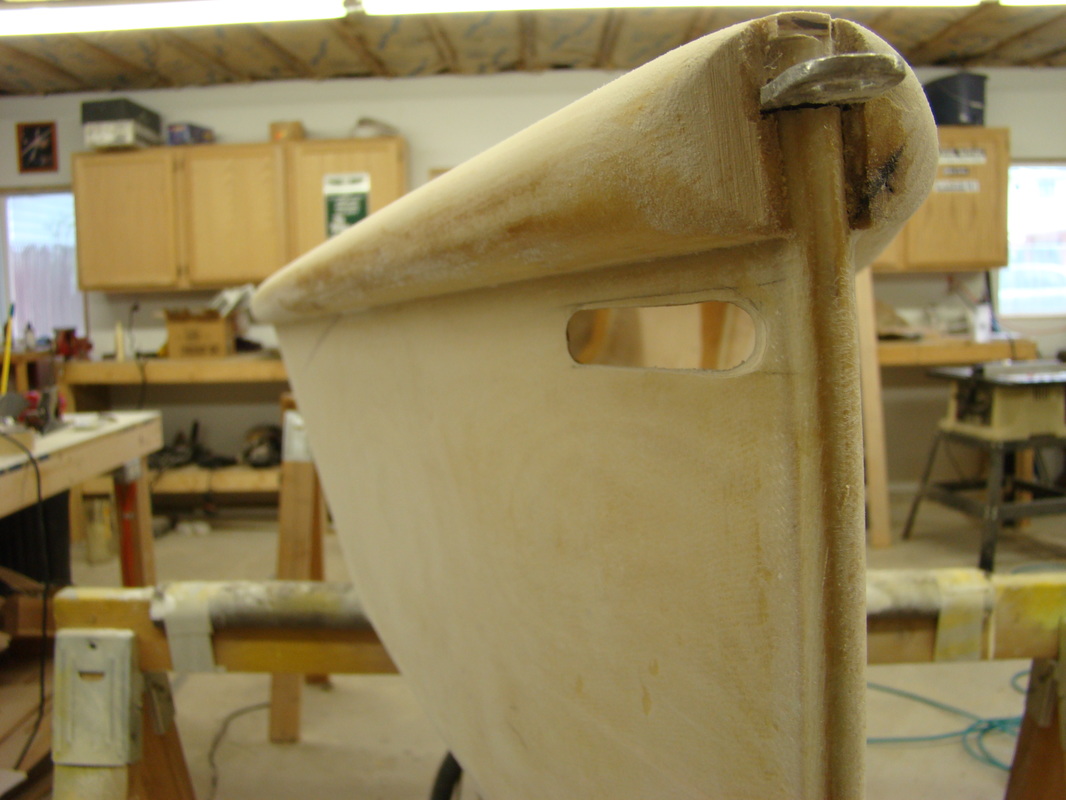
Lower rudder hinge fitting
A little dam...
The lower hinge fitting is anchored with thickened epoxy
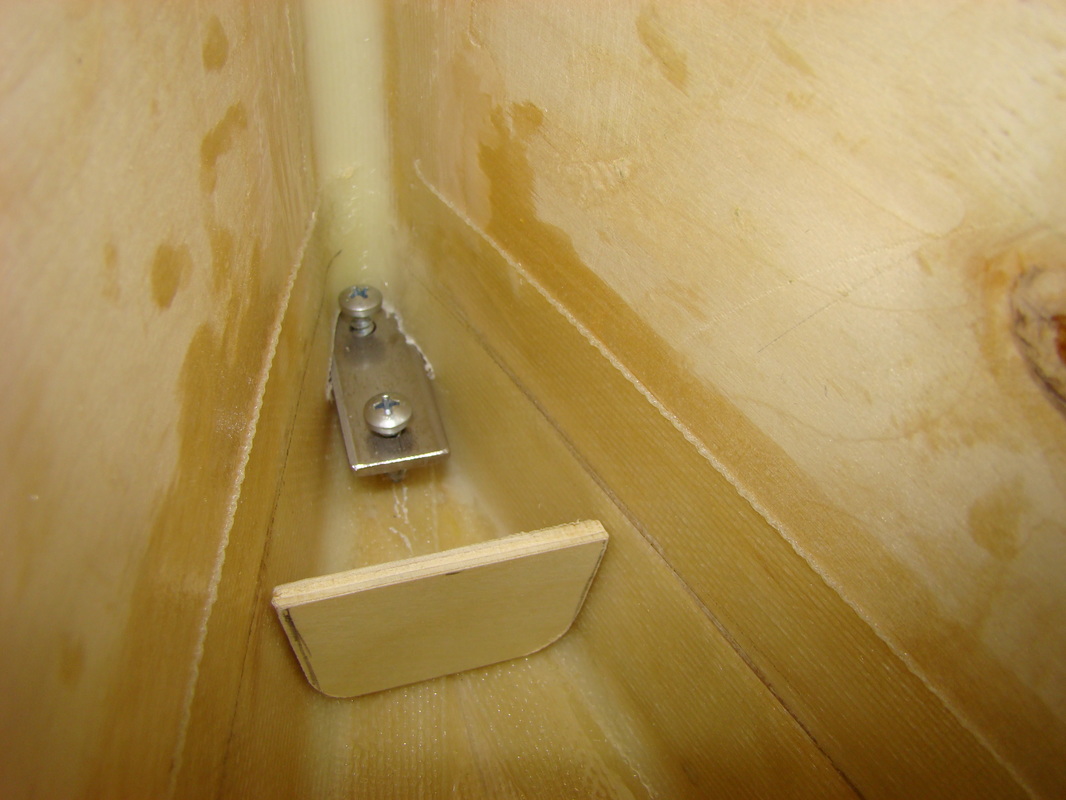
Upper hinge fitting
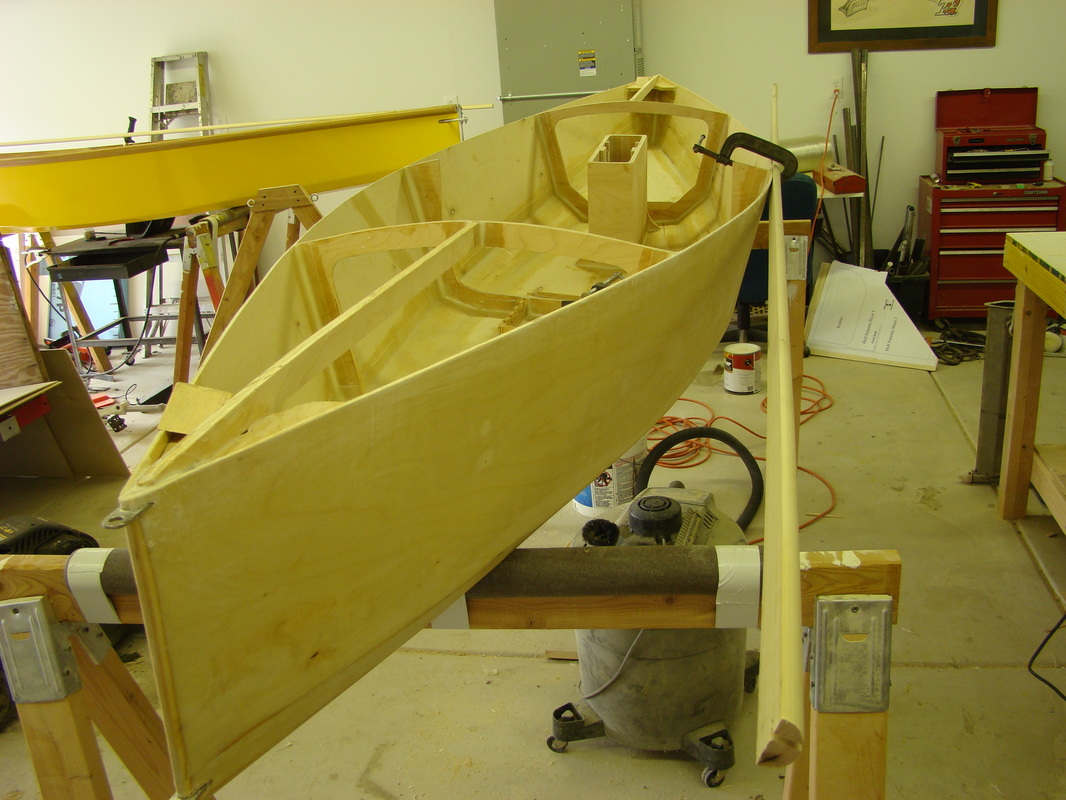
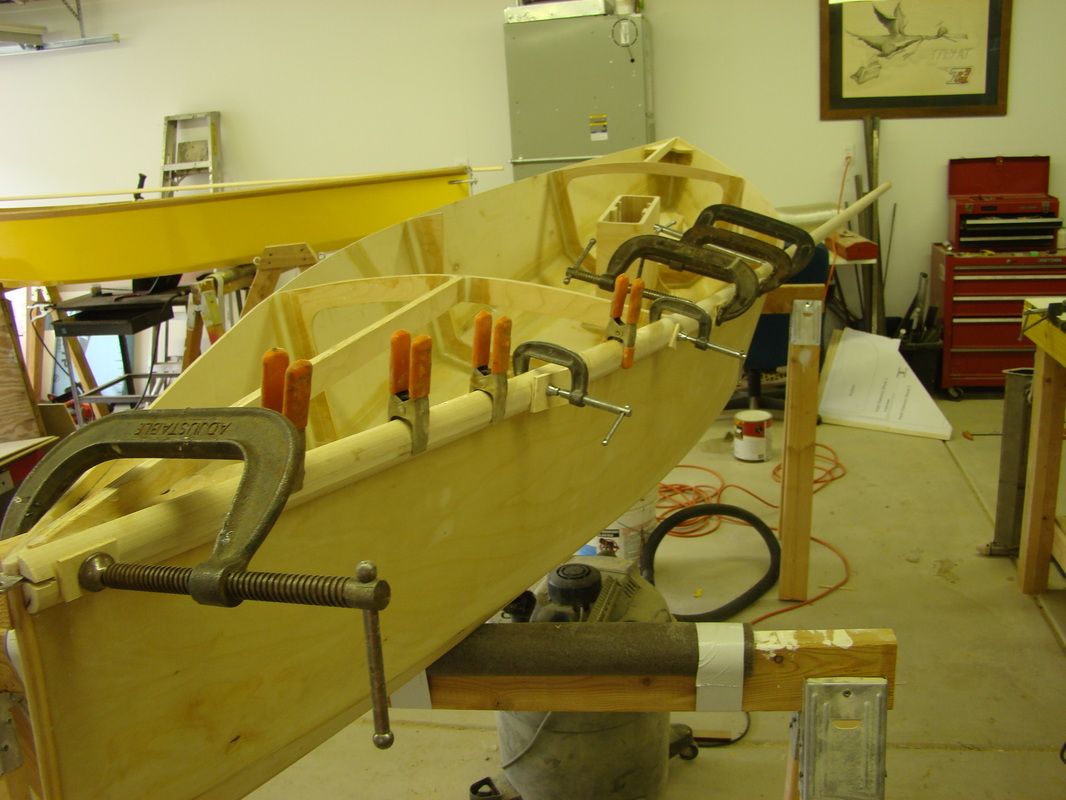
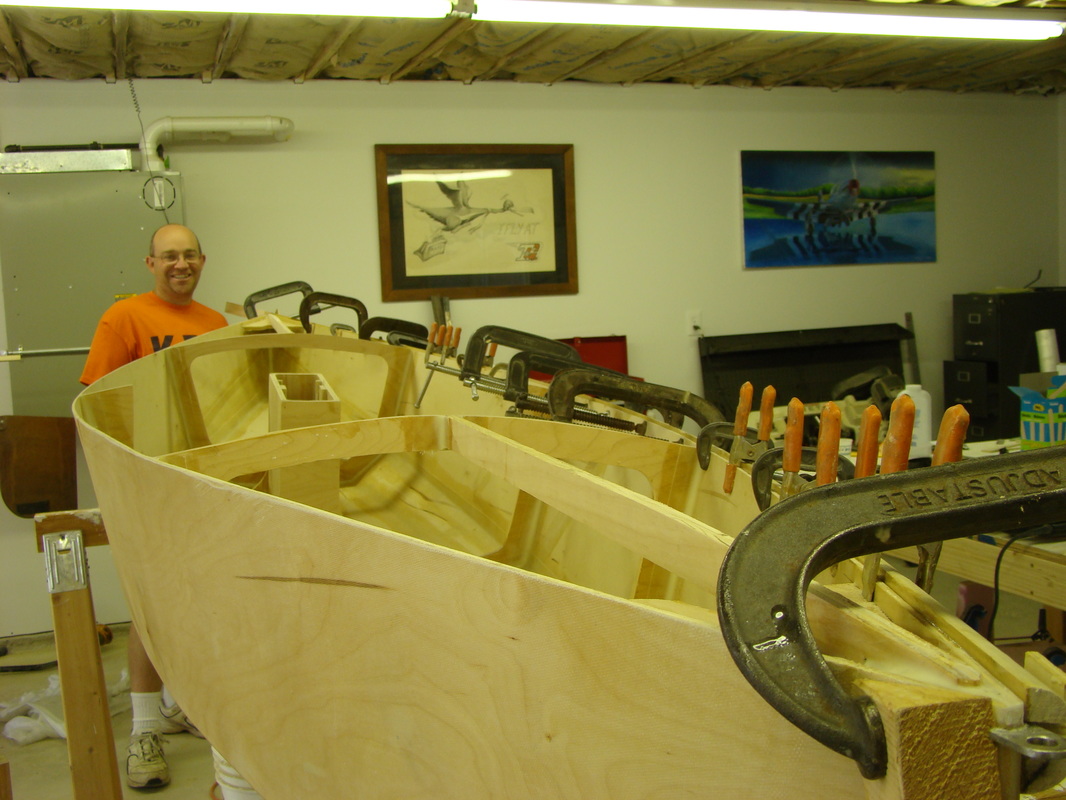
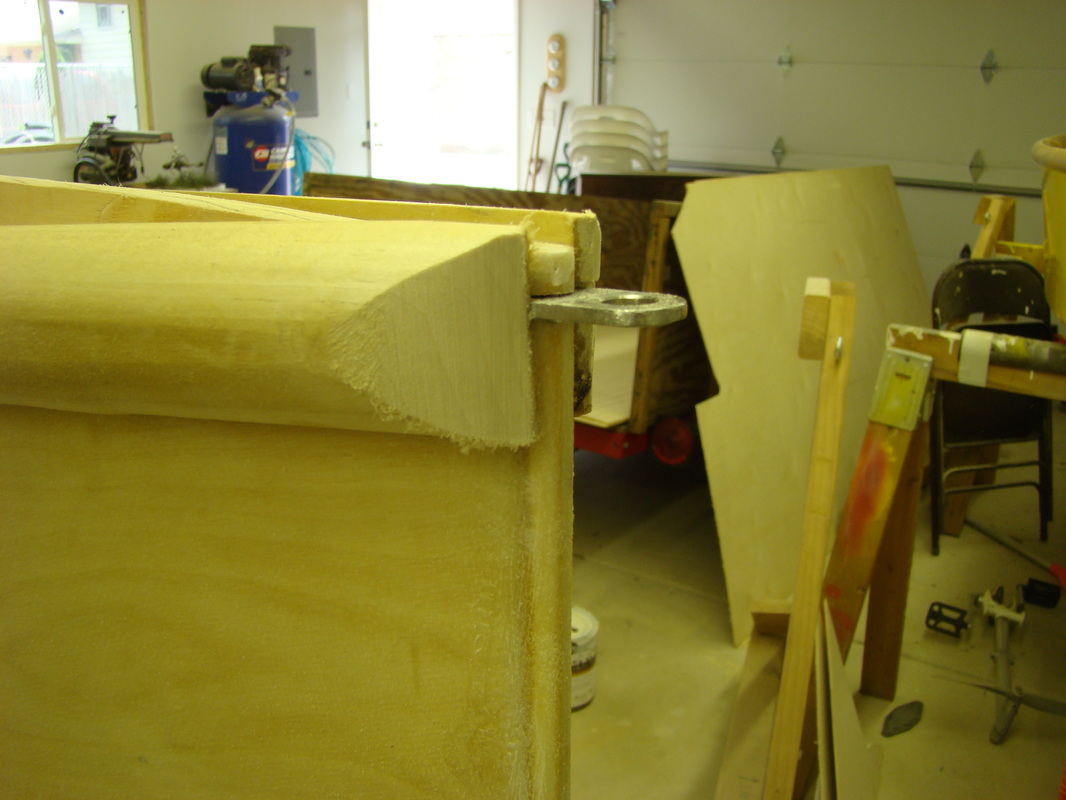
Installing gunwales
You can never have too many clamps!
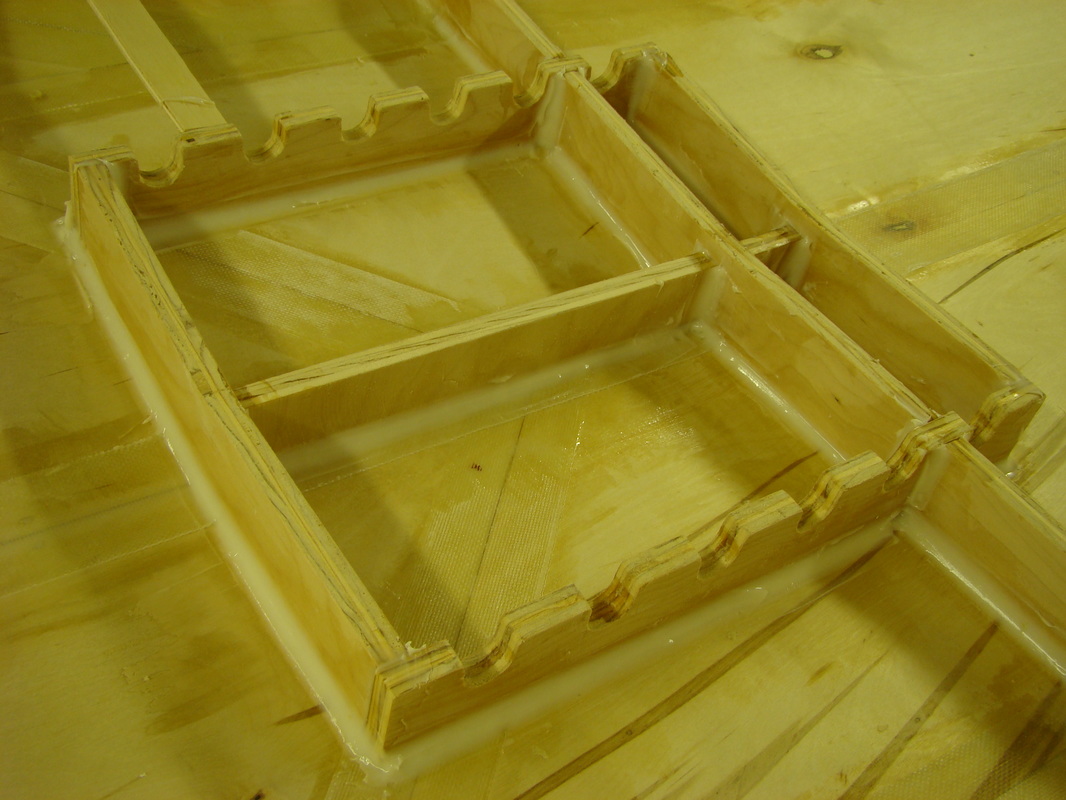
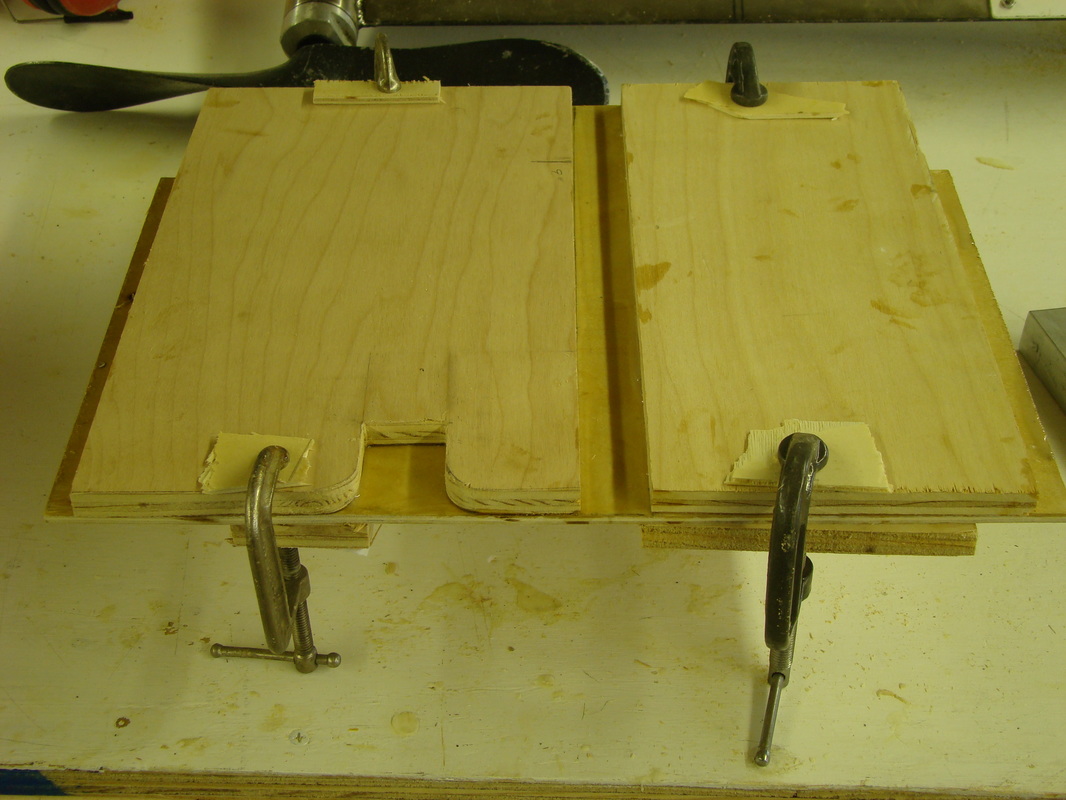
The drive box can be sized to fit any drive
Drive box side
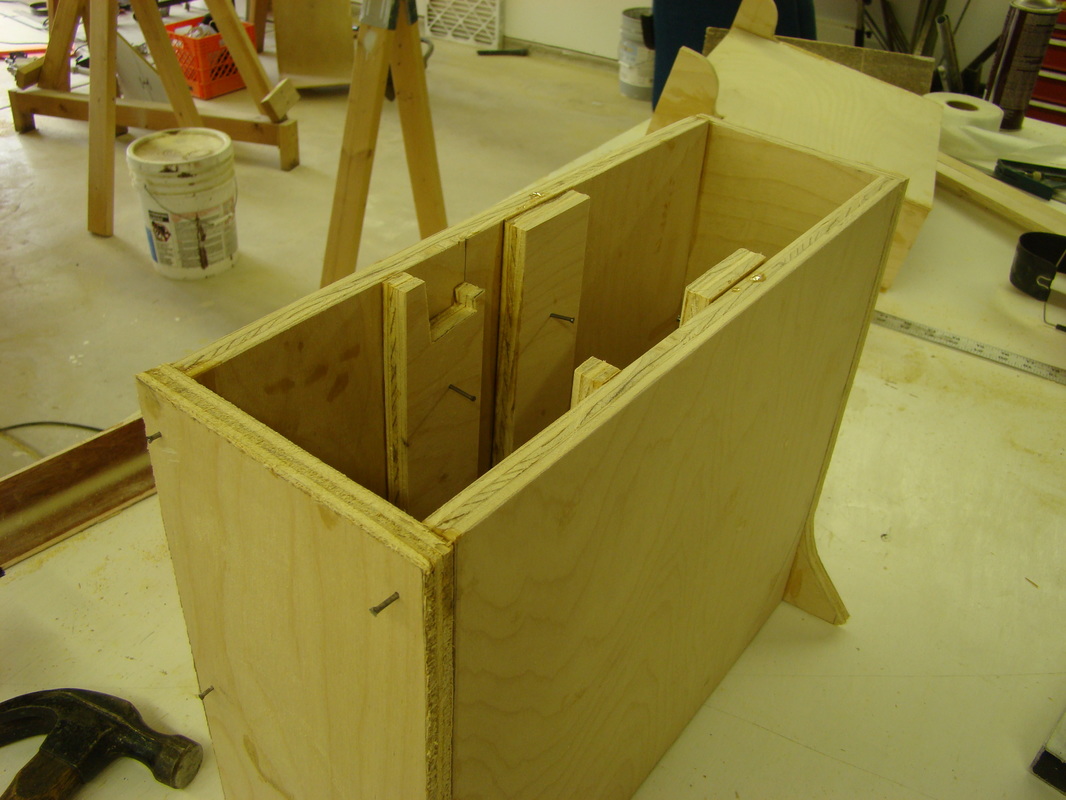
Assembling drive box
Completed drive box
Drive box glued into hull
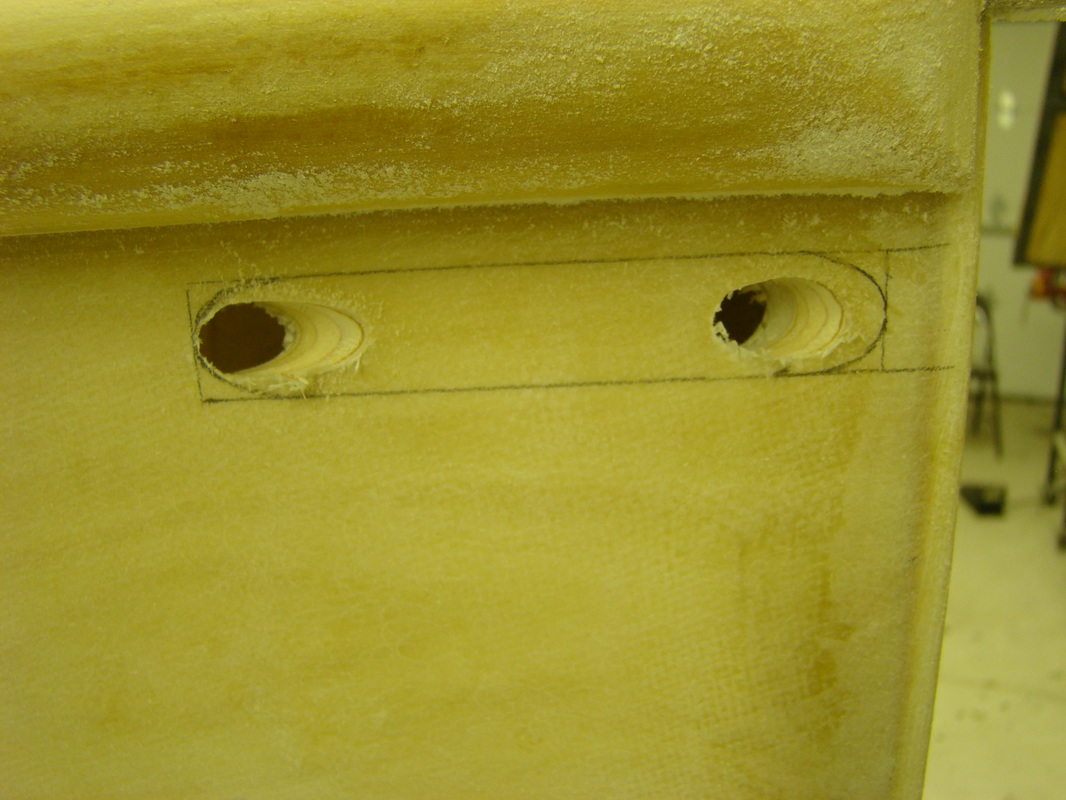
Opening for rudder pushrod
Begin by drilling holes on an angle
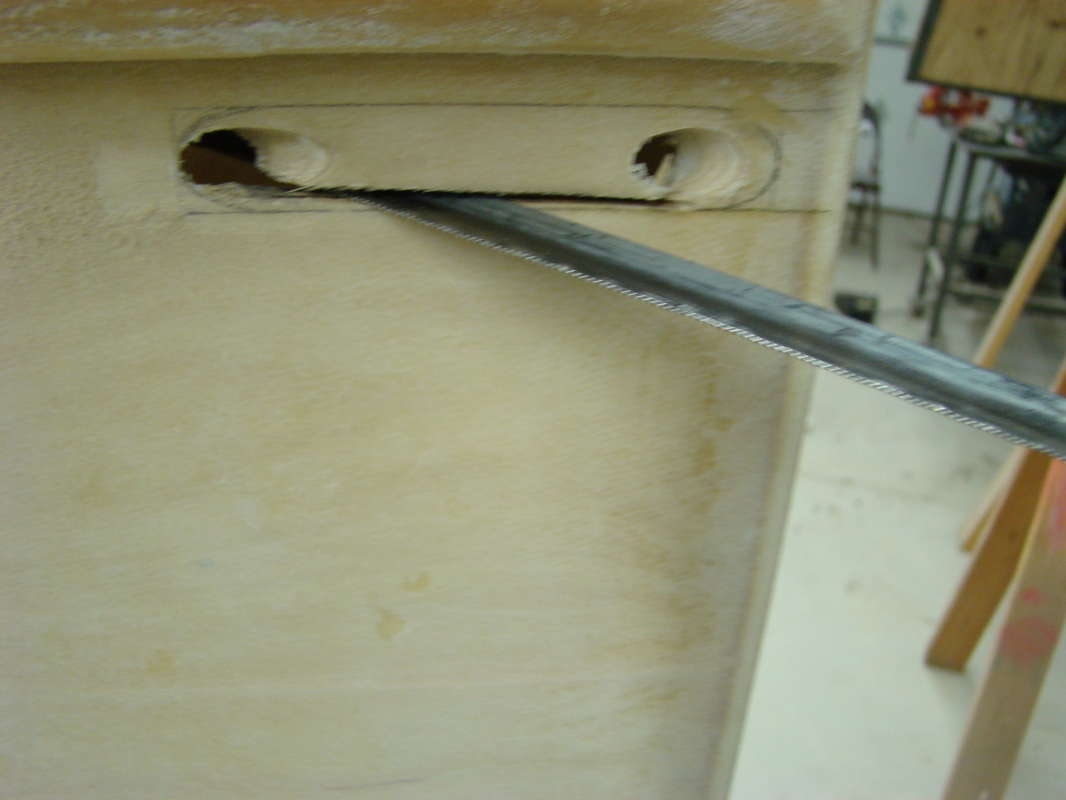
Connect the holes with a hacksaw blade
Cleanup with a round file
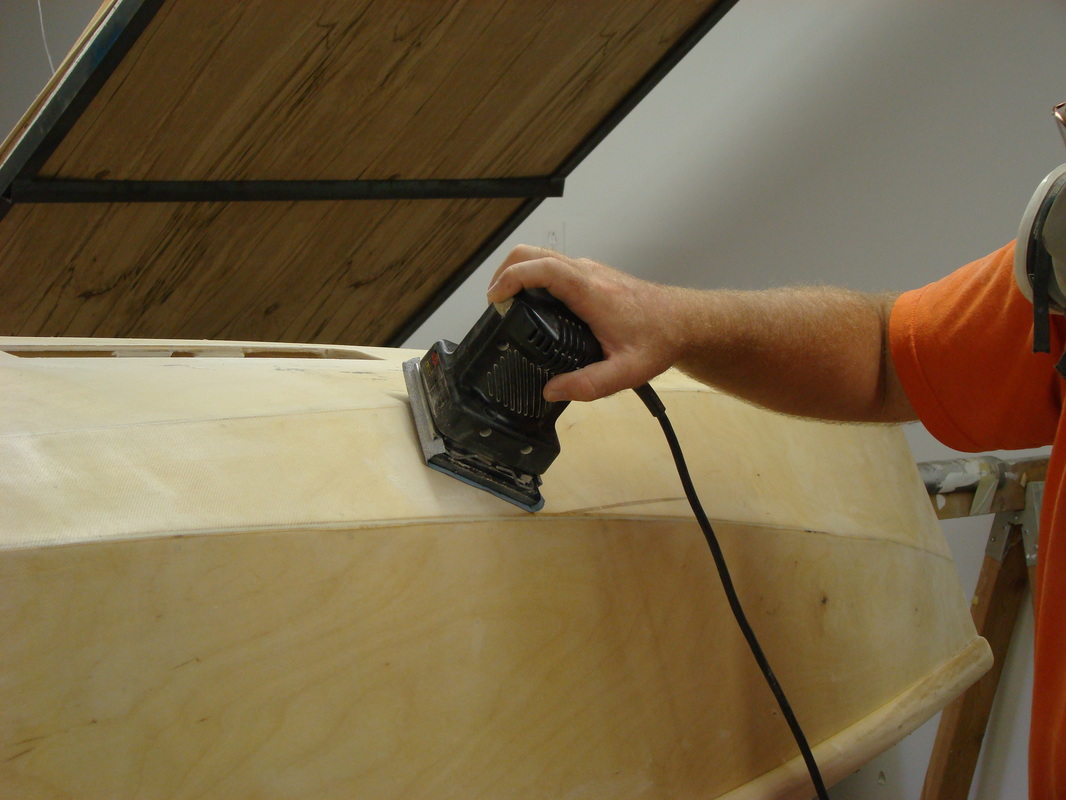
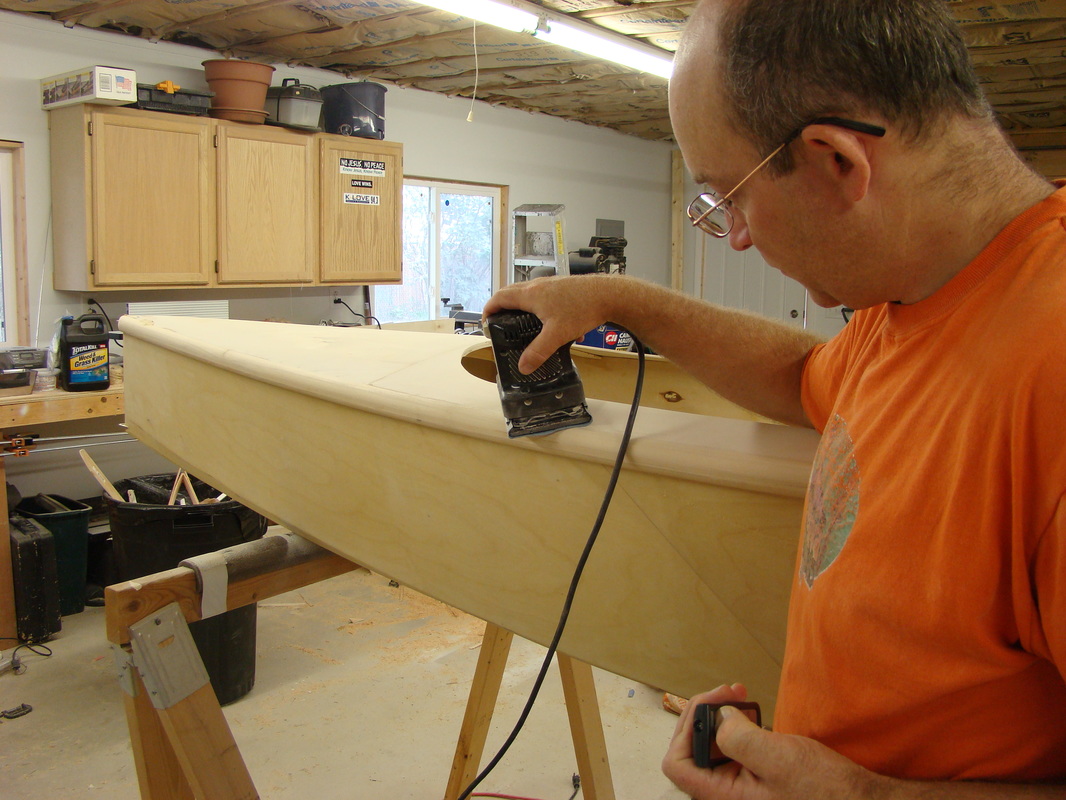
lots and lots of sanding!
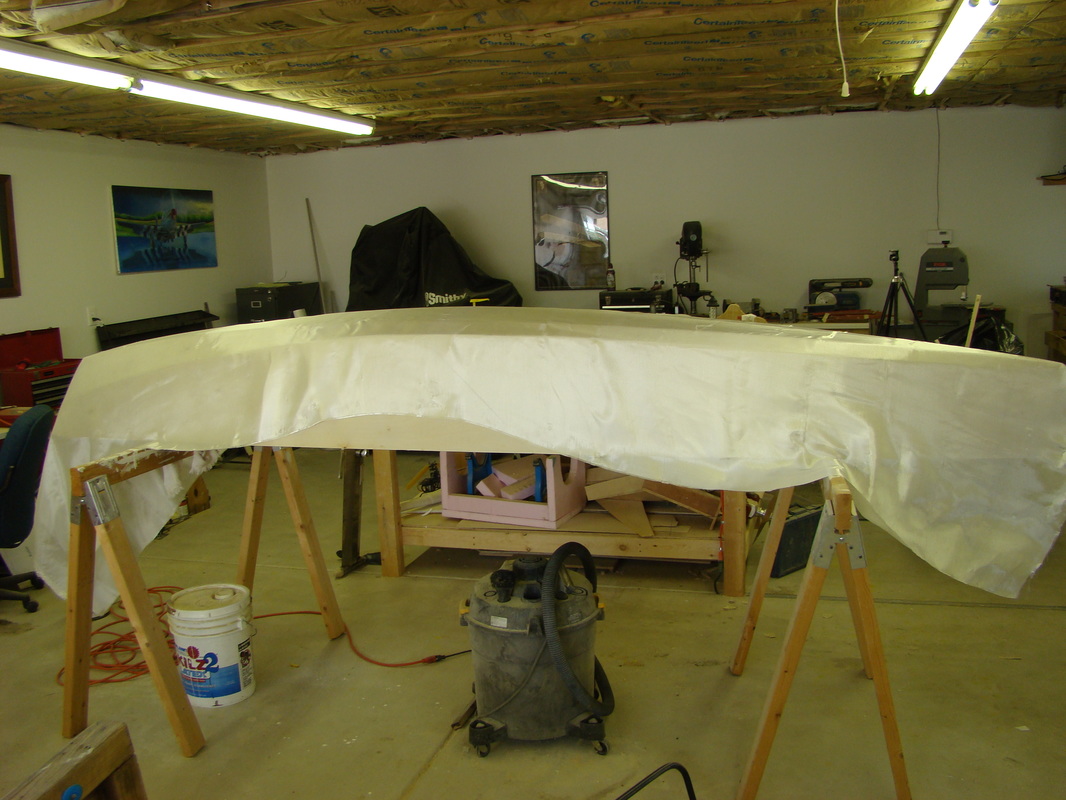
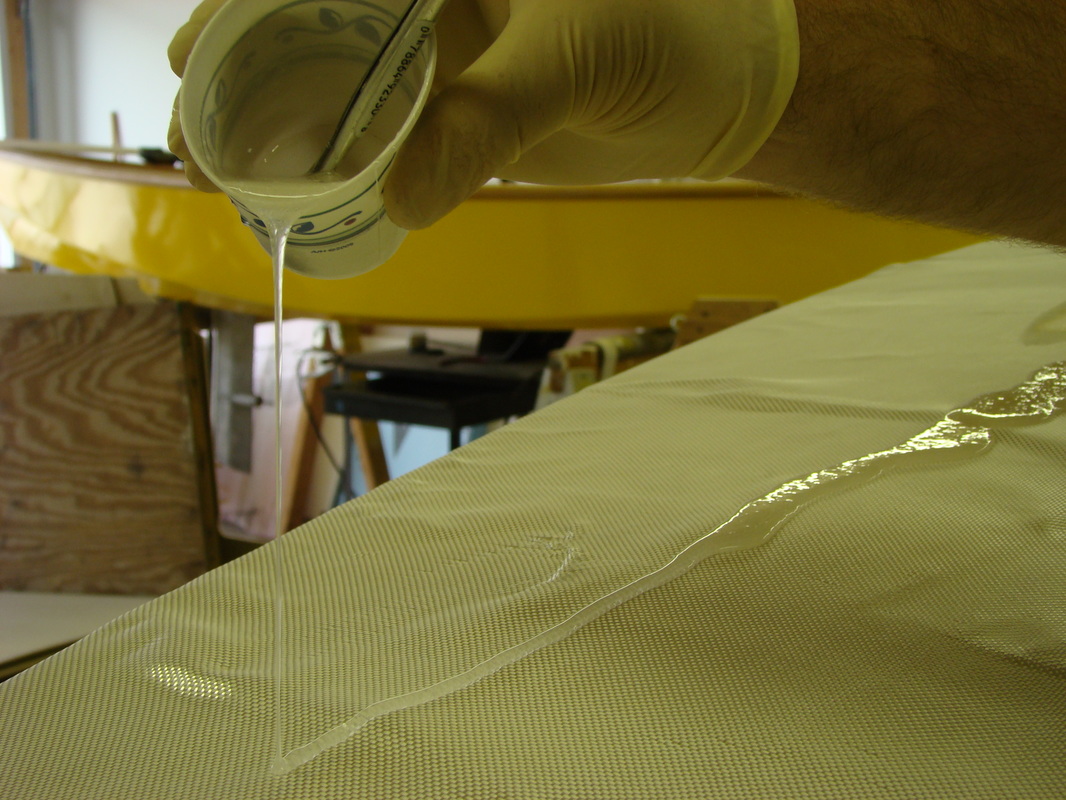
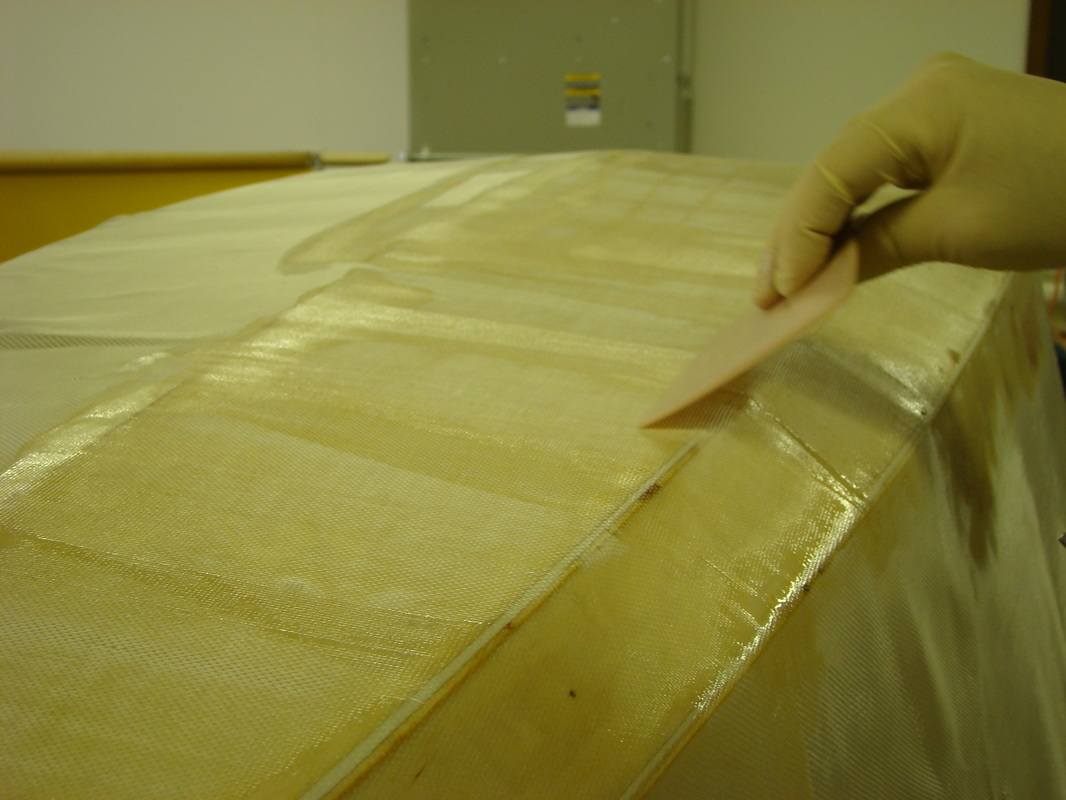
Exterior of hull fiberglassed with 6oz cloth
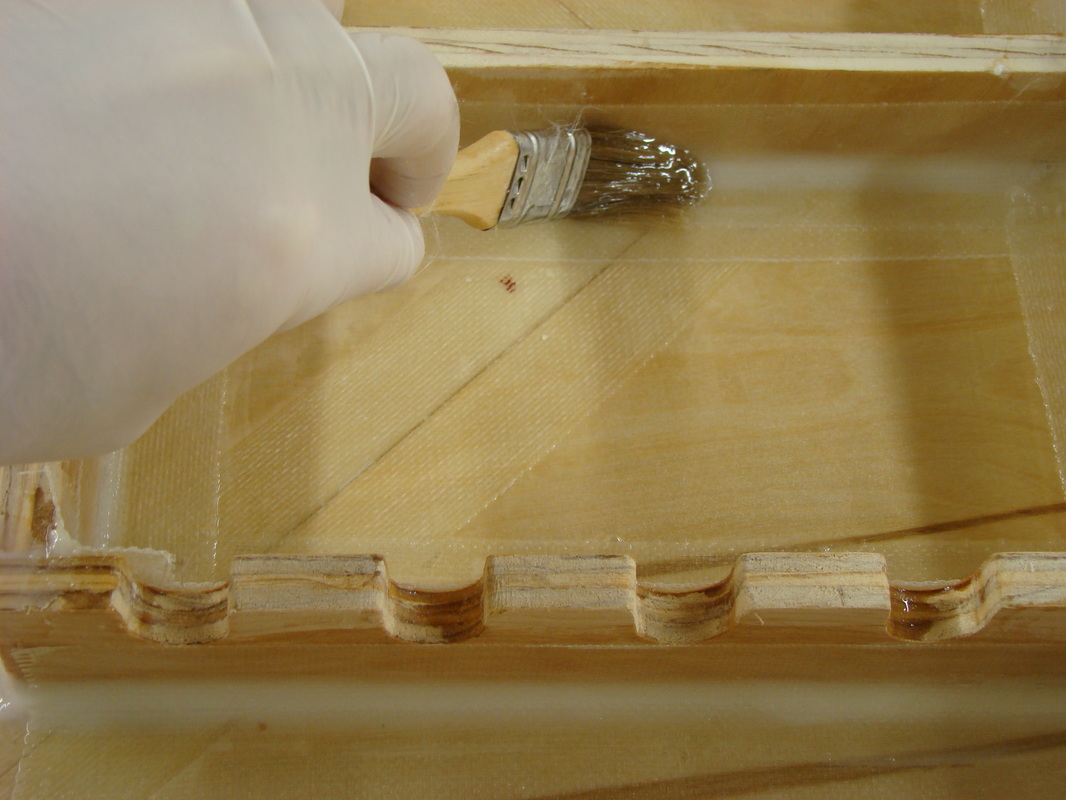
Begin by wetting out the cloth with epoxy
Smooth out the glass, remove excess resin
At least 3 coats of epoxy resin with sanding in between to fill in the weave of the cloth
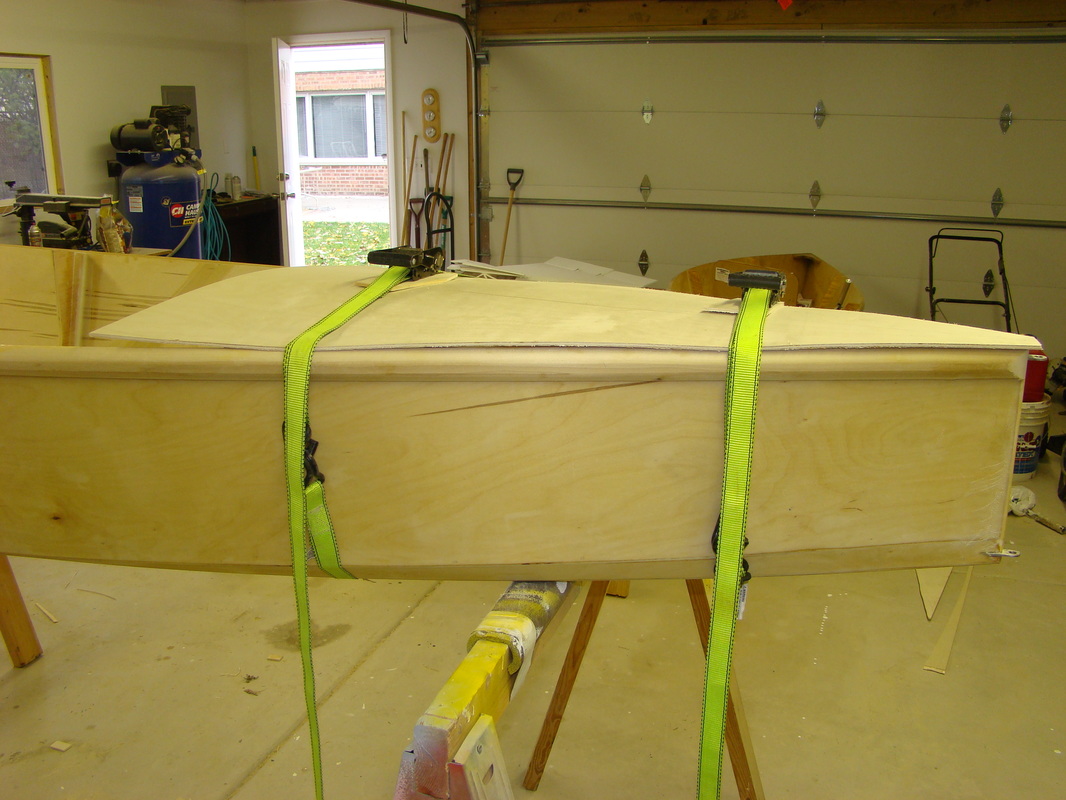
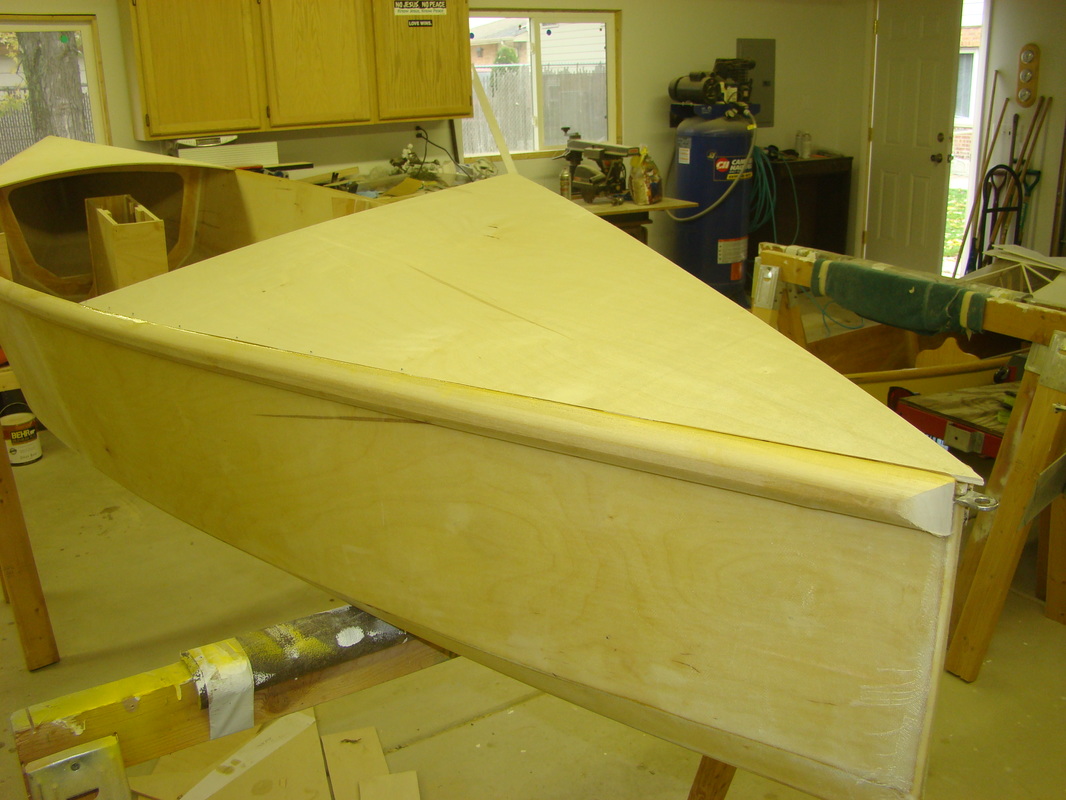
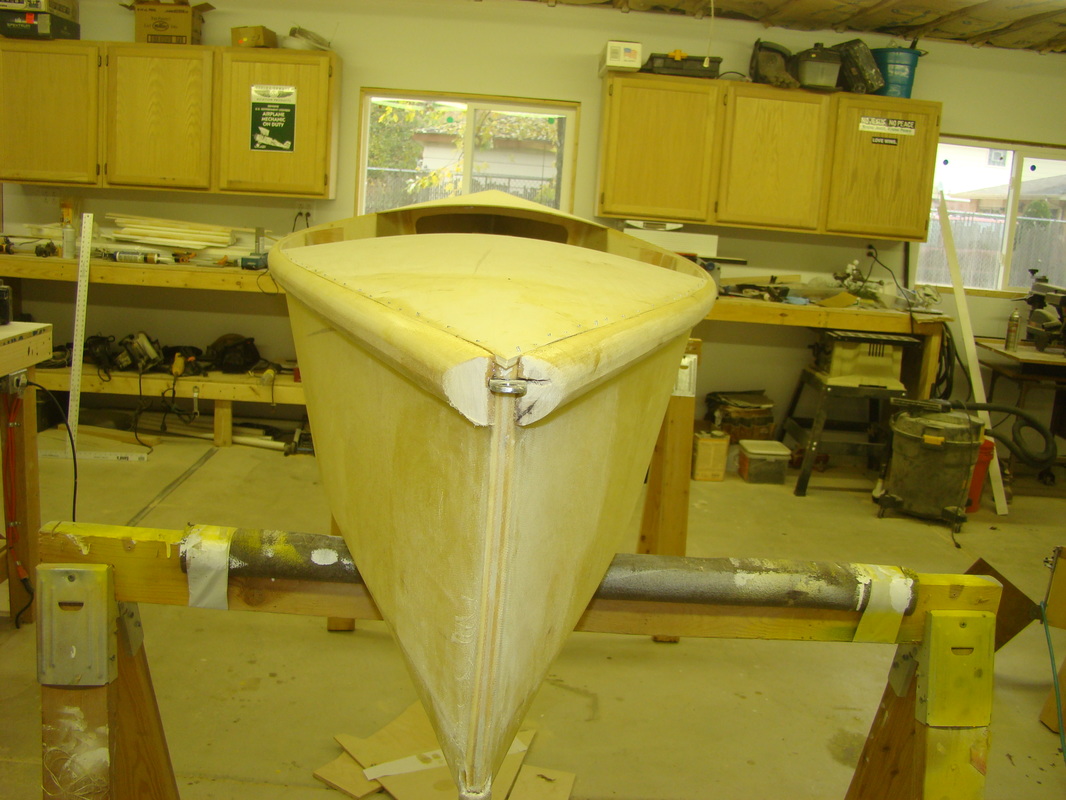
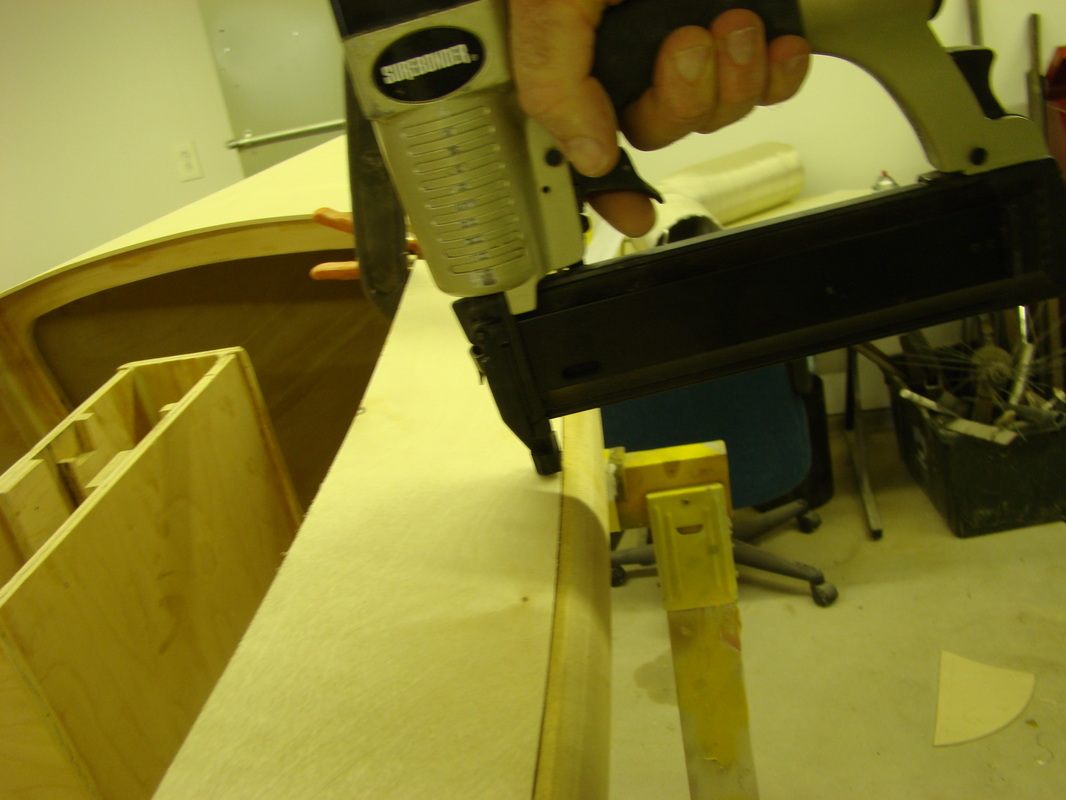
Top sheeting is optional
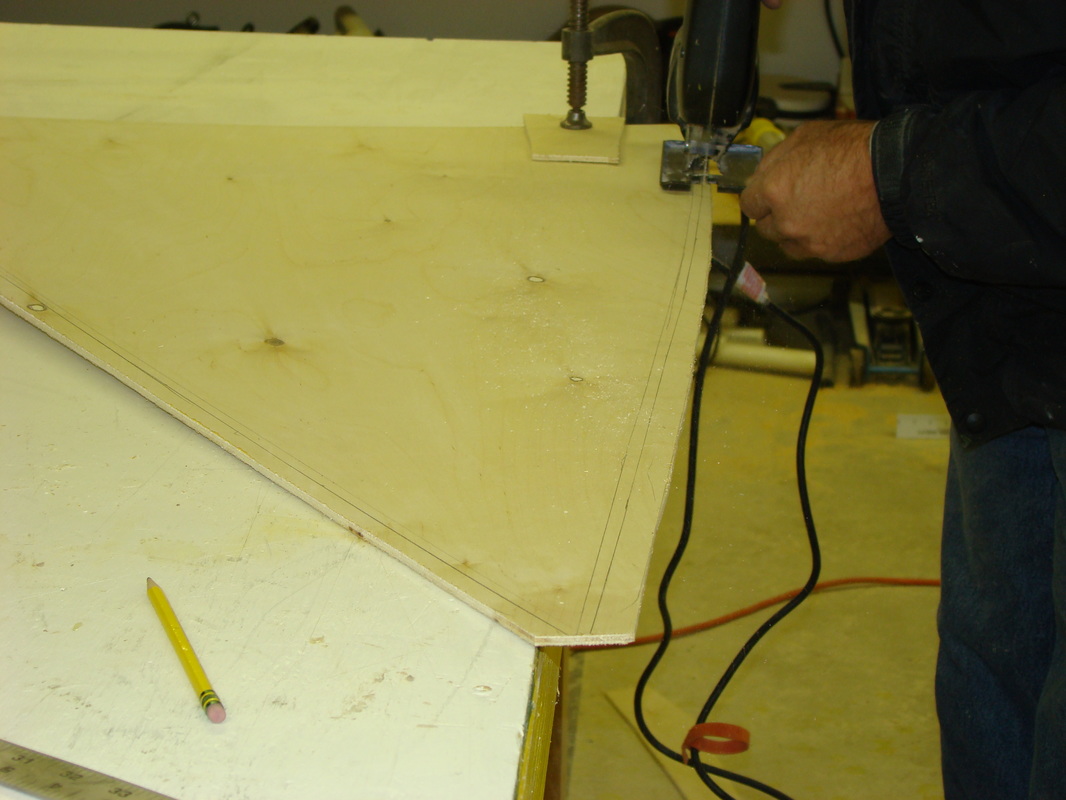
Mark the sheeting from the inside
Trim the sheeting
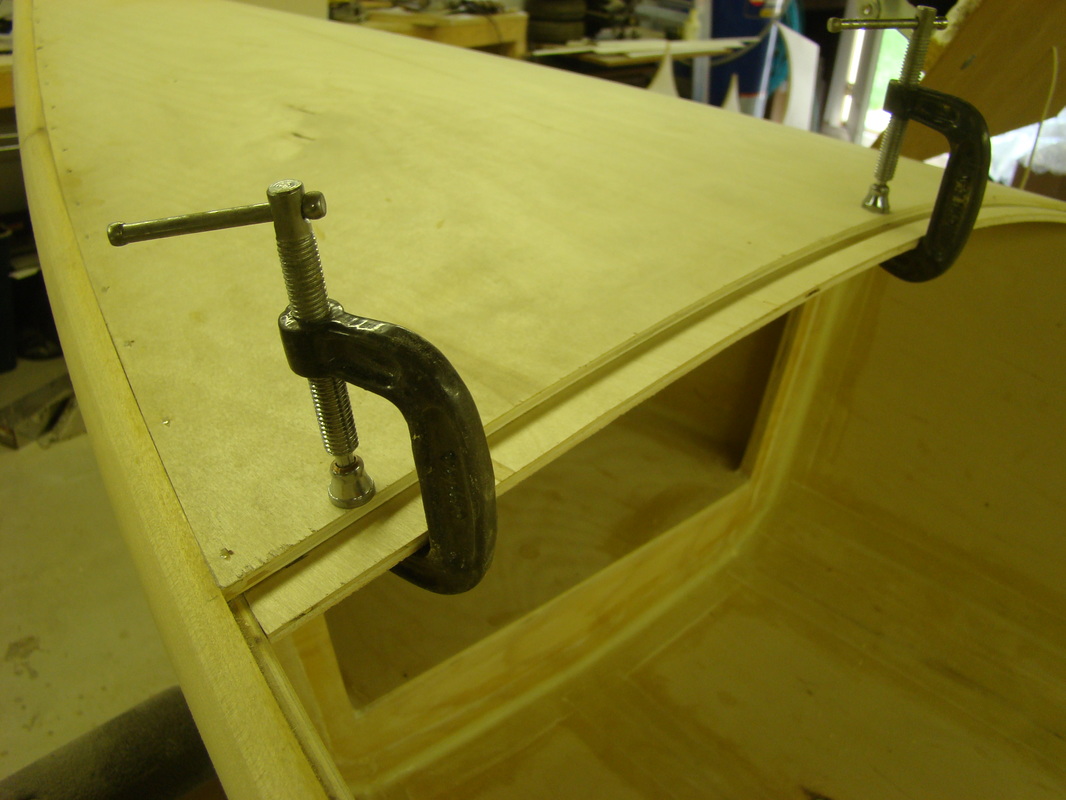
Test fit and trim as required
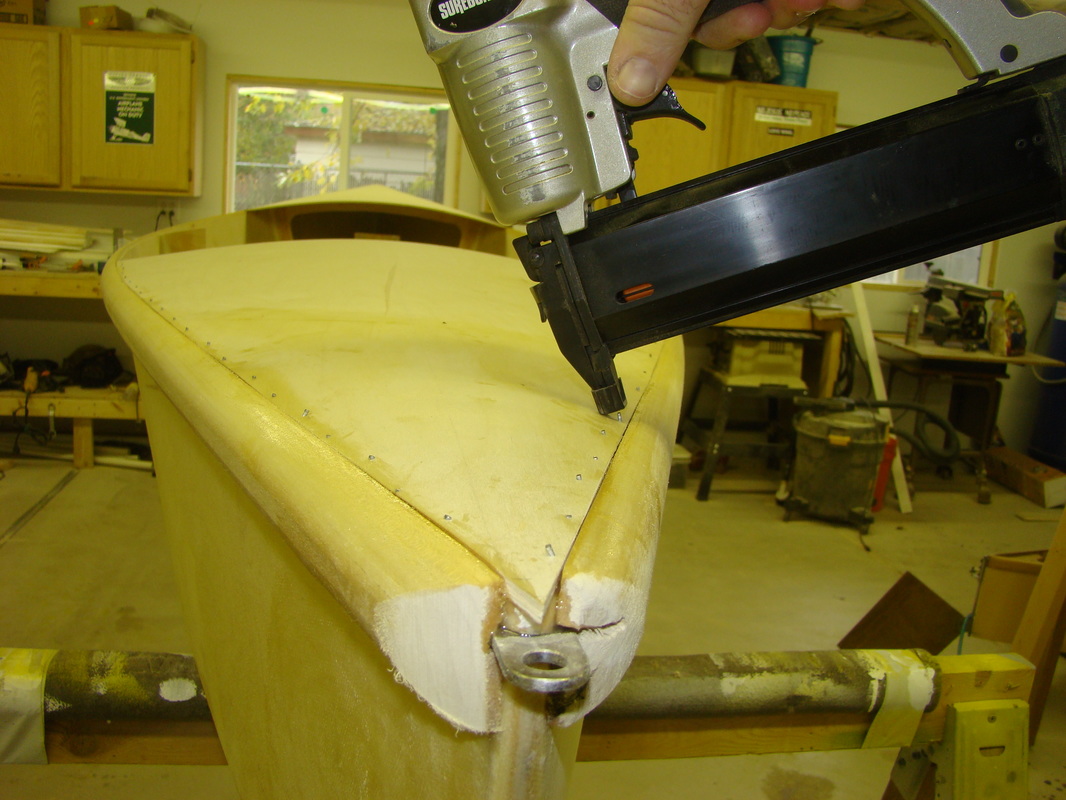
Install with epoxy and nails
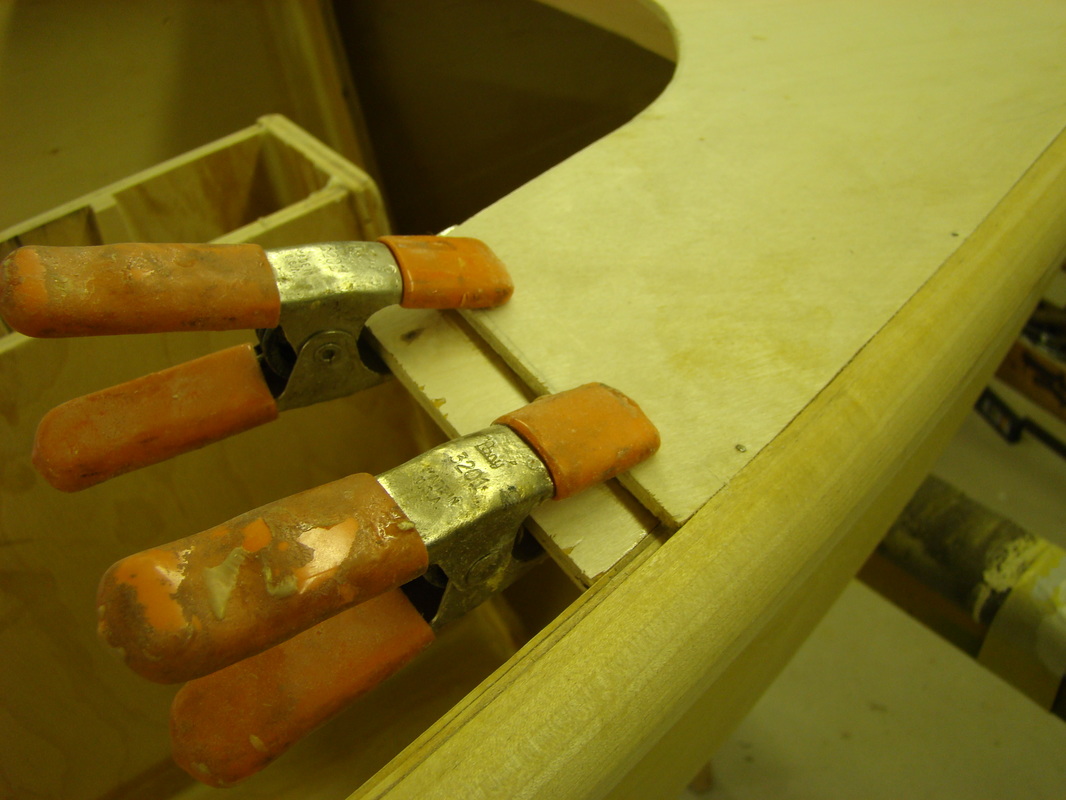
Sheeting splice
Sheeting splice
Side sheeting
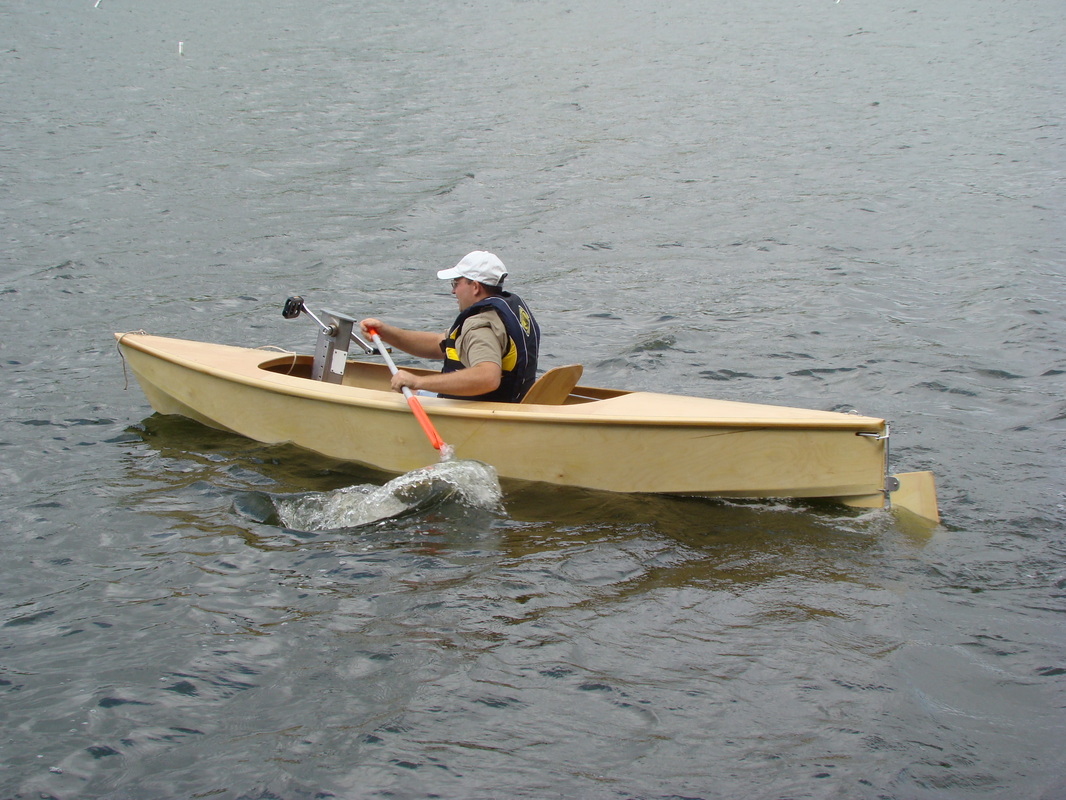
Drive can be removed if it bottoms out or gets fouled with weeds
Home
About
Contact
Boats
HPB links
Join The Conversation
FOR SALE